> ## Documentation Index
> Fetch the complete documentation index at: https://docs.chift.eu/llms.txt
> Use this file to discover all available pages before exploring further.

# Fortnox

export const OverviewLegend = ({showTitle = true}) => <blockquote>
    {showTitle && <p>
        <strong>Overview legend 🧭</strong>
      </p>}
    <table>
      <thead>
        <tr>
          <th>Column</th>
          <th>Value</th>
          <th>Meaning</th>
        </tr>
      </thead>
      <tbody>
        <tr>
          <td>Geography</td>
          <td>🇫🇷 FR · 🇧🇪 BE · …</td>
          <td>Countries where the connector is officially supported.</td>
        </tr>
        <tr>
          <td rowSpan={3}>Software type</td>
          <td>SaaS</td>
          <td>Through API.</td>
        </tr>
        <tr>
          <td>On-premise (local agent)</td>
          <td>
            Software running locally — installation of a local agent is
            required.
          </td>
        </tr>
        <tr>
          <td>On-premise (API)</td>
          <td>Software running locally — API available.</td>
        </tr>
        <tr>
          <td rowSpan={2}>Status</td>
          <td>🔵 Live</td>
          <td>Connector is generally available and production-ready.</td>
        </tr>
        <tr>
          <td>🟣 Beta</td>
          <td>
            Connector is in beta — usable in production but may still evolve.
          </td>
        </tr>
        <tr>
          <td>Multi folder</td>
          <td>✅ Yes / ❌ No</td>
          <td>
            Connection to multiple accounting folders at the same time (see{' '}
            <a href="/unified-apis/accounting/guides-and-behaviours/folders">
              accounting folders guide
            </a>
            ).
          </td>
        </tr>
        <tr>
          <td>Rate limits</td>
          <td>✅ No / ❌ Yes</td>
          <td>Whether the target software sets rate limits on API calls.</td>
        </tr>
        <tr>
          <td rowSpan={3}>API keys</td>
          <td>❎ No</td>
          <td>
            No API keys required (OAuth2 client secret and client ID). No
            requirements to activate the connector — you can create a
            connection.
          </td>
        </tr>
        <tr>
          <td>🔑</td>
          <td>
            Keys are required to activate the connector. Chift cannot act as
            intermediary to obtain them; we can still assist with steps to get
            keys directly from the software provider.
          </td>
        </tr>
        <tr>
          <td>🔑 ☑️ via Chift</td>
          <td>
            Keys are required to activate the connector. You can go through
            Chift to get the keys (intermediary or partnership keys). An
            approval process may still apply, but you do not need to request
            keys from the vendor on your own.
          </td>
        </tr>
        <tr>
          <td rowSpan={3}>Approval / certification process</td>
          <td>⚡ Instant</td>
          <td>
            No keys required, or Chift can encode their keys for you when
            requested. Activation is instantaneous.
          </td>
        </tr>
        <tr>
          <td>🟢 Approval — [Duration]</td>
          <td>
            Approval will be granted. The vendor may require information or app
            configuration in a developer portal before issuing keys.
          </td>
        </tr>
        <tr>
          <td>🟠 Approval — [Duration]</td>
          <td>
            Approval is not guaranteed — often due to integration strategy; the
            vendor may do a deeper assessment (competitors, partnership
            requirements, and similar).
          </td>
        </tr>
        <tr>
          <td rowSpan={2}>Activation time</td>
          <td>⚡ Instant</td>
          <td>
            If no keys are required, or Chift has keys ready to share with you.
          </td>
        </tr>
        <tr>
          <td>Time</td>
          <td>
            Estimated time to get the connector activated in production as a
            result of the approval or certification process (e.g. ⏱️ 2 days, 1
            week).
          </td>
        </tr>
        <tr>
          <td rowSpan={3}>Extra fees — software editor</td>
          <td>❎ No</td>
          <td>No fees charged by the software editor.</td>
        </tr>
        <tr>
          <td>💰 🕹️</td>
          <td>Fees associated with obtaining a testing account.</td>
        </tr>
        <tr>
          <td>💰 🔑</td>
          <td>Fees charged to get API keys.</td>
        </tr>
        <tr>
          <td rowSpan={2}>Extra fees — end user</td>
          <td>❎ No</td>
          <td>The end user does not pay extra to get integrated.</td>
        </tr>
        <tr>
          <td>💰 Yes</td>
          <td>The end user must pay extra to get integrated.</td>
        </tr>
        <tr>
          <td>Comments on costs</td>
          <td>—</td>
          <td>Additional notes on fees or pricing when relevant.</td>
        </tr>
        <tr>
          <td rowSpan={4}>Sandbox account</td>
          <td>✅ via Chift</td>
          <td>Chift can provide you with a sandbox.</td>
        </tr>
        <tr>
          <td>🟠 Only through integrator</td>
          <td>Only the software's integrator can provide a sandbox.</td>
        </tr>
        <tr>
          <td>✅ Self-service</td>
          <td>You can create your own sandbox.</td>
        </tr>
        <tr>
          <td>✅ Trial account</td>
          <td>It is possible to create a trial account.</td>
        </tr>
      </tbody>
    </table>
  </blockquote>;

export const ConnectorCardIframe = ({api = 'accounting', connectors}) => {
  const [theme, setTheme] = React.useState('light');
  React.useEffect(() => {
    const checkTheme = () => {
      const isDark = document.documentElement.classList.contains('dark');
      setTheme(isDark ? 'dark' : 'light');
    };
    checkTheme();
    const observer = new MutationObserver(checkTheme);
    observer.observe(document.documentElement, {
      attributes: true,
      attributeFilter: ['class']
    });
    return () => observer.disconnect();
  }, []);
  const queryParams = new URLSearchParams({
    api,
    theme,
    ...connectors ? {
      connectors
    } : {}
  });
  const iframeUrl = `https://chift-coverage-matrix.s3.eu-west-3.amazonaws.com/connector-card.html?${queryParams.toString()}`;
  return <iframe src={iframeUrl} title={`Chift connector information - ${api}`} style={{
    display: 'block',
    width: '100%',
    height: '480px',
    margin: 0,
    padding: 0,
    border: 'none'
  }} />;
};

export const CoverageIframe = ({api = 'accounting', connectors}) => {
  const [theme, setTheme] = React.useState('light');
  const [isFullscreen, setIsFullscreen] = React.useState(false);
  const [currentIframeUrl, setCurrentIframeUrl] = React.useState(null);
  const iframeRef = React.useRef(null);
  React.useEffect(() => {
    const checkTheme = () => {
      const isDark = document.documentElement.classList.contains('dark');
      setTheme(isDark ? 'dark' : 'light');
    };
    checkTheme();
    const observer = new MutationObserver(checkTheme);
    observer.observe(document.documentElement, {
      attributes: true,
      attributeFilter: ['class']
    });
    return () => observer.disconnect();
  }, []);
  React.useEffect(() => {
    const handleFullscreenChange = () => {
      setIsFullscreen(!!document.fullscreenElement);
    };
    document.addEventListener('fullscreenchange', handleFullscreenChange);
    return () => document.removeEventListener('fullscreenchange', handleFullscreenChange);
  }, []);
  React.useEffect(() => {
    const handleMessage = event => {
      if (!event.origin.includes('chift-coverage-matrix.s3.eu-west-3.amazonaws.com')) return;
      if (event.data?.type === 'urlChange' && event.data?.url) {
        setCurrentIframeUrl(event.data.url);
      }
    };
    window.addEventListener('message', handleMessage);
    return () => window.removeEventListener('message', handleMessage);
  }, []);
  const queryParams = new URLSearchParams({
    api,
    theme,
    ...connectors ? {
      connectors
    } : {}
  });
  const iframeUrl = `https://chift-coverage-matrix.s3.eu-west-3.amazonaws.com/coverage.html?${queryParams.toString()}`;
  const openUrl = currentIframeUrl || iframeUrl;
  const toggleFullscreen = () => {
    if (!document.fullscreenElement) {
      iframeRef.current?.requestFullscreen();
    } else {
      document.exitFullscreen();
    }
  };
  const isDark = theme === 'dark';
  const buttonStyle = {
    display: 'inline-flex',
    alignItems: 'center',
    gap: '8px',
    padding: '4px 12px',
    fontSize: '14px',
    fontWeight: '500',
    color: isDark ? '#d4d4d4' : '#374151',
    backgroundColor: 'transparent',
    border: `1px solid ${isDark ? '#404040' : '#e5e7eb'}`,
    borderRadius: '12px',
    cursor: 'pointer',
    textDecoration: 'none',
    transition: 'all 0.15s ease'
  };
  const hoverBg = isDark ? 'rgba(255,255,255,0.05)' : 'rgba(0,0,0,0.03)';
  const hoverBorder = isDark ? '#525252' : '#d1d5db';
  const defaultBg = 'transparent';
  const defaultBorder = isDark ? '#404040' : '#e5e7eb';
  return <>
  <div style={{
    display: 'flex',
    justifyContent: 'flex-end',
    gap: '12px',
    marginBottom: '8px'
  }}>
    <button onClick={toggleFullscreen} style={buttonStyle} onMouseEnter={e => {
    e.target.style.backgroundColor = hoverBg;
    e.target.style.borderColor = hoverBorder;
  }} onMouseLeave={e => {
    e.target.style.backgroundColor = defaultBg;
    e.target.style.borderColor = defaultBorder;
  }}>
      <svg width="16" height="16" viewBox="0 0 24 24" fill="none" stroke="currentColor" strokeWidth="2" strokeLinecap="round" strokeLinejoin="round">
        {isFullscreen ? <>
            <polyline points="4 14 10 14 10 20"></polyline>
            <polyline points="20 10 14 10 14 4"></polyline>
            <line x1="14" y1="10" x2="21" y2="3"></line>
            <line x1="3" y1="21" x2="10" y2="14"></line>
          </> : <>
            <polyline points="15 3 21 3 21 9"></polyline>
            <polyline points="9 21 3 21 3 15"></polyline>
            <line x1="21" y1="3" x2="14" y2="10"></line>
            <line x1="3" y1="21" x2="10" y2="14"></line>
          </>}
      </svg>
      {isFullscreen ? 'Exit Fullscreen' : 'Fullscreen'}
    </button>
    <a href={iframeUrl} target="_blank" rel="noopener noreferrer" style={buttonStyle} onMouseEnter={e => {
    e.target.style.backgroundColor = hoverBg;
    e.target.style.borderColor = hoverBorder;
  }} onMouseLeave={e => {
    e.target.style.backgroundColor = defaultBg;
    e.target.style.borderColor = defaultBorder;
  }}>
      <svg width="16" height="16" viewBox="0 0 24 24" fill="none" stroke="currentColor" strokeWidth="2" strokeLinecap="round" strokeLinejoin="round">
        <path d="M18 13v6a2 2 0 0 1-2 2H5a2 2 0 0 1-2-2V8a2 2 0 0 1 2-2h6"></path>
        <polyline points="15 3 21 3 21 9"></polyline>
        <line x1="10" y1="14" x2="21" y2="3"></line>
      </svg>
      Open in new tab
    </a>
  </div>
  <iframe ref={iframeRef} src={iframeUrl} title={`Chift Coverage Matrix - ${api}`} style={{
    height: 'max(500px, 80vh)'
  }} className="w-full" allowFullScreen />
  <blockquote>
    <p>
      <strong>Matrix Legend 🧭</strong>
    </p>
    <table>
      <thead>
        <tr>
          <th>Status</th>
          <th>Meaning</th>
        </tr>
      </thead>
      <tbody>
        <tr>
          <td>✅ Implemented</td>
          <td>Endpoint is implemented and available.</td>
        </tr>
        <tr>
          <td>❌ Not supported</td>
          <td>
            Endpoint is not supported by the target software (connector
            limitation). Cannot be implemented.
          </td>
        </tr>
        <tr>
          <td>💬 On request</td>
          <td>
            Endpoint is not implemented but feasibility is validated. Can be
            implemented on request — contact your Chift point of contact to
            discuss scope and timing.
          </td>
        </tr>
        <tr>
          <td>🔎 To be analyzed</td>
          <td>
            Endpoint is not implemented and feasibility has not yet been fully
            assessed. Analysis is pending.
          </td>
        </tr>
      </tbody>
    </table>
  </blockquote>
</>;
};

<ConnectorCardIframe api="accounting" connectors="Fortnox" />

<Accordion title="Overview Legend 🧭">
  <OverviewLegend showTitle={false} />
</Accordion>

## Introduction

Fortnox is the leading cloud accounting and business software in Sweden and one of the largest in the Nordics, widely used by SMEs and accounting firms. The Chift Fortnox connector exposes Fortnox's bookkeeping features through Chift's unified Accounting API (journals, chart of accounts, ledger/bank accounts, journal & financial entries).

<Info>
  **Production options**

  As an integrator (Chift's client), you first create your own Fortnox developer account and Fortnox app (Client ID / Client Secret). **Developing and testing is free.**

  To move to production, you must choose between **two options**:

  <CardGroup cols={2}>
    <Card title="Private App" icon="lock">
      Can be used with external production accounts. The application **won't be listed on the Fortnox Marketplace** and can only be activated externally (i.e. distributed and activated directly by you for your own customers).

      **No additional requirement** — deploy your integration for your own customers.
    </Card>

    <Card title="Public Marketplace App" icon="store">
      **Listed on the Fortnox Marketplace**, making your integration discoverable by all Fortnox users.

      Requires an **App Partner agreement** + **Fortnox certification** of your app. Fortnox operates a **revenue-share model** on Marketplace apps (partner receives **75%**).
    </Card>
  </CardGroup>

  For up-to-date pricing and partner conditions, see the [Fortnox Developer program](https://www.fortnox.se/developer).
</Info>

<Info>
  **End-user pricing**

  Fortnox is sold to end-users as a **modular subscription**: customers pay a small monthly base fee and then add the modules they need (Bookkeeping, Invoicing, Supplier invoices, Salary, etc.). The Fortnox API only exposes the modules the end-user has actually subscribed to, so the scopes you request must be covered by their plan (otherwise the OAuth flow or API calls will fail with an authorization error).

  Typical modules relevant to the Chift Accounting connector:

  * **Bokföring** (Bookkeeping) — required for chart of accounts, journals and journal entries.
  * **Fakturering** (Invoicing) — required for customer invoices and customers.
  * **Leverantörsfakturor** (Supplier invoices) — required for supplier invoices and suppliers.

  Prices are updated by Fortnox and vary by module and company size. For the current price list, see the official [Fortnox price list](https://www.fortnox.se/produkt/prislista).
</Info>

## Configure Fortnox

### Prerequisites

* A **Fortnox developer account** ([fortnox.se/developer](https://www.fortnox.se/developer)).
* Your own **Fortnox app** — its **Client ID** and **Client Secret**. Developing and testing is free.
* For production, one of:
  * **Private App** — no additional requirement.
  * **Public Marketplace App** — an App Partner agreement and Fortnox certification of your app.

### Activation process

Follow these three steps to connect your own Fortnox app to Chift.

<Steps>
  <Step title="Register as a Fortnox developer">
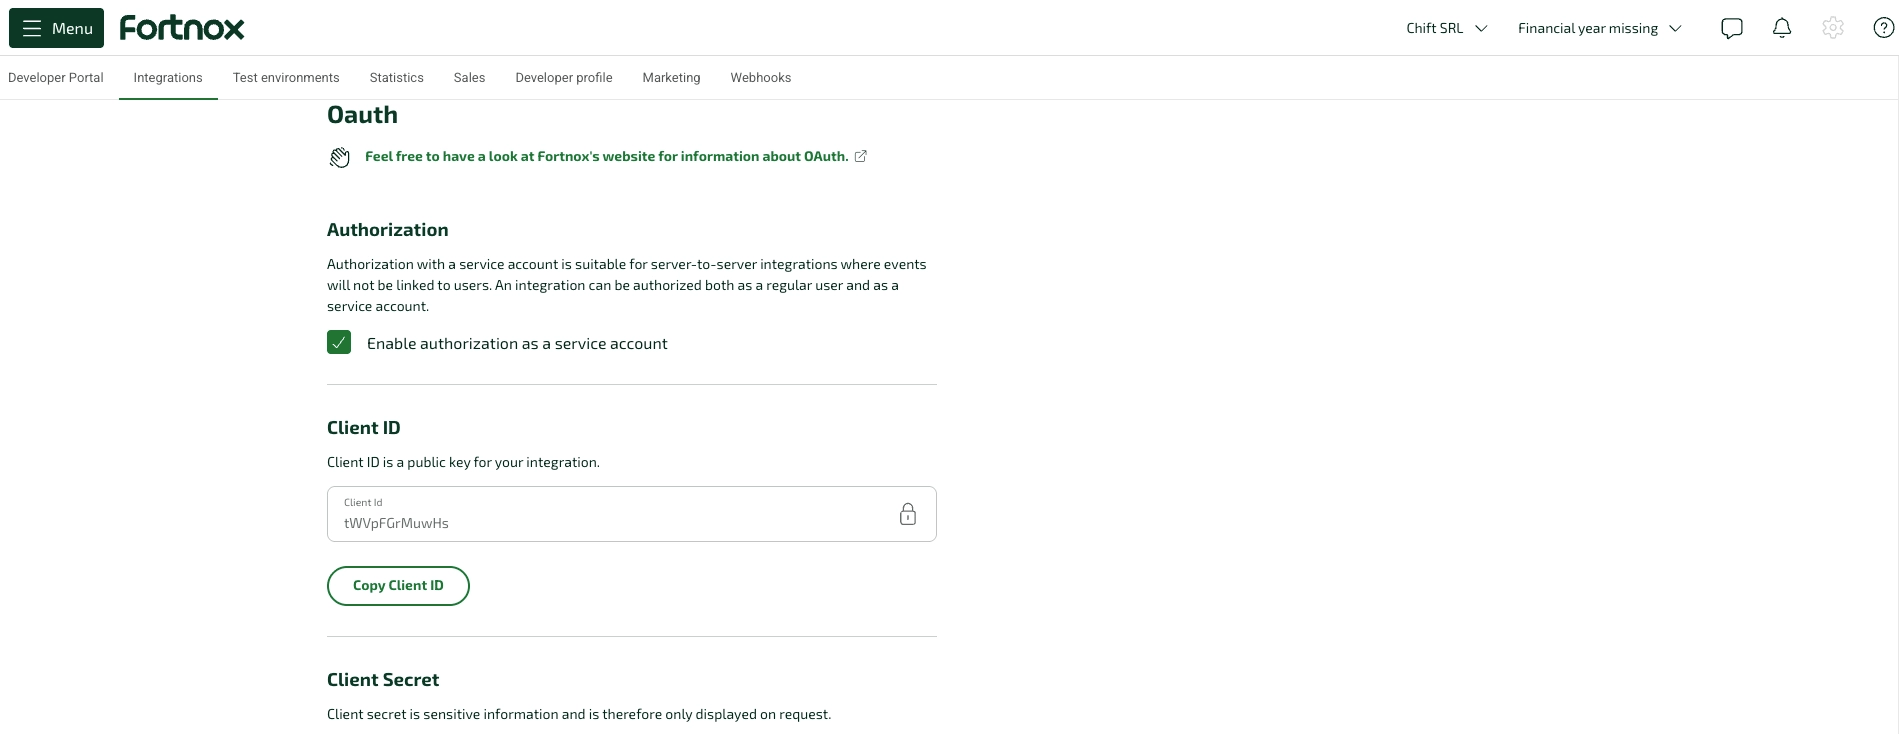
    Before you can make any Fortnox API calls, register as a developer at [fortnox.se/developer](https://www.fortnox.se/developer). This gives you access to the Developer Portal, where you create your integration and receive your **Client ID** and **Client Secret**.

    <Frame>
      <img src="https://mintcdn.com/chift/Eujs9ExSIUDg5pbq/images/connectors/accounting/fortnox/fortnox-oauth-client-id.png?fit=max&auto=format&n=Eujs9ExSIUDg5pbq&q=85&s=2cf0042e0ff9c6aa4c1cbdbab284b924" alt="Fortnox Developer Portal – OAuth Client ID configuration" width="1899" height="734" data-path="images/connectors/accounting/fortnox/fortnox-oauth-client-id.png" />
    </Frame>

    See [Create a developer account & sandbox](#create-a-developer-account-and-sandbox) below for a step-by-step walkthrough of the registration flow.
  </Step>

  <Step title="Create your integration">
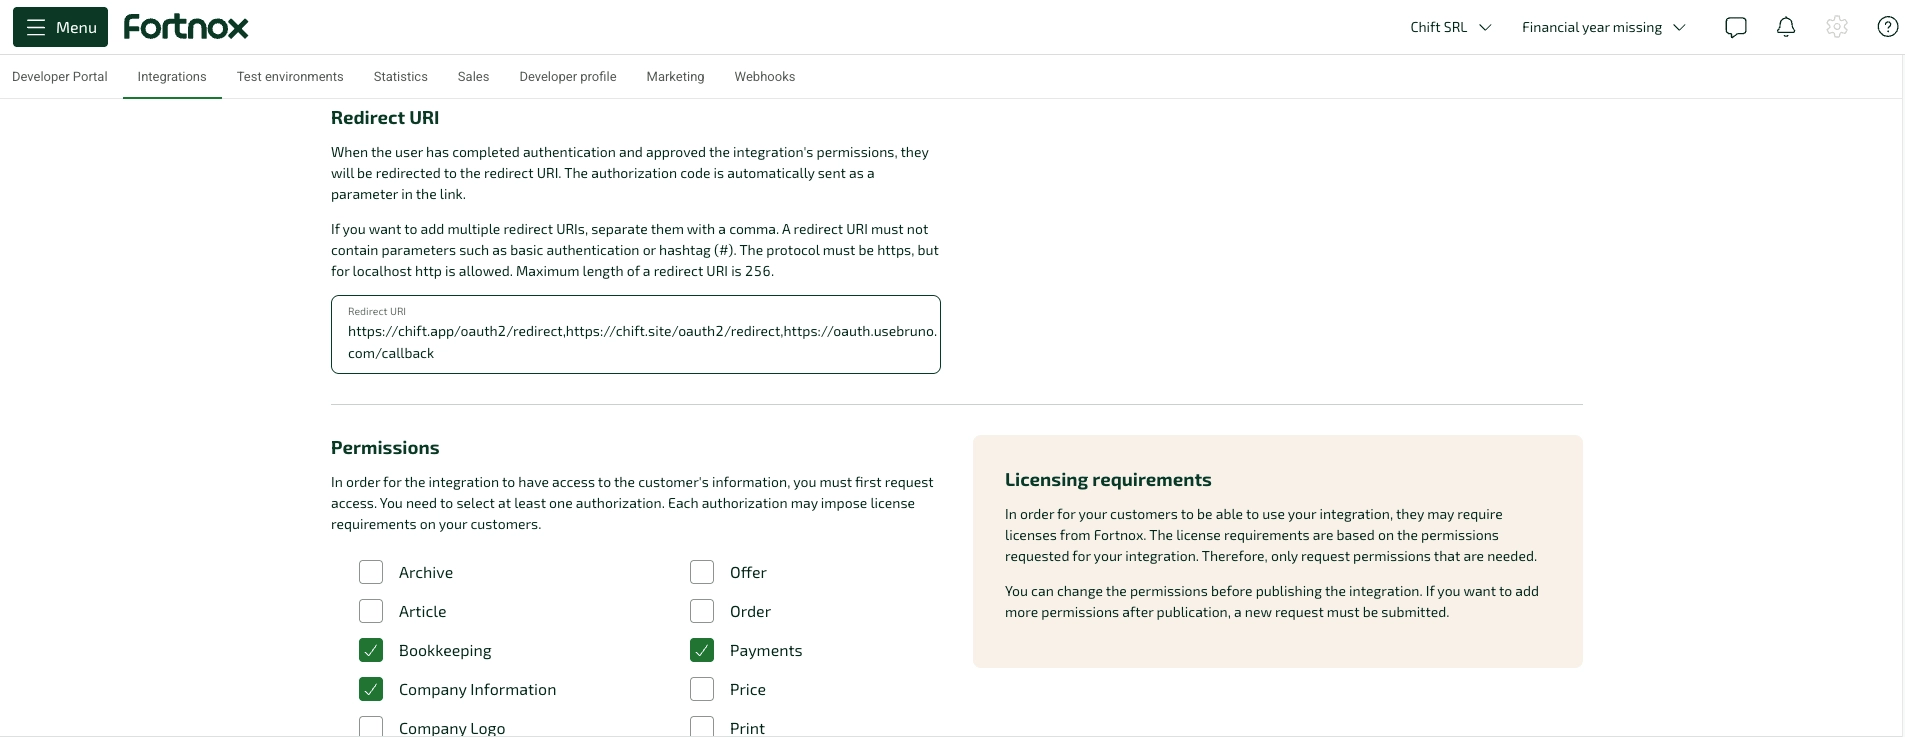
    Once registered, create an integration record. This is where you configure your **redirect URI**, define your requested **scopes**, and optionally submit for a Fortnox Marketplace listing.

    Set the redirect URI to:

    ```text theme={null}
    https://chift.app/oauth2/redirect
    ```

    <Frame>
      <img src="https://mintcdn.com/chift/Eujs9ExSIUDg5pbq/images/connectors/accounting/fortnox/fortnox-redirect-uri-permissions.png?fit=max&auto=format&n=Eujs9ExSIUDg5pbq&q=85&s=0f01349af7cd3f1bd702737261af542b" alt="Fortnox Developer Portal – Redirect URI and Permissions" width="1905" height="737" data-path="images/connectors/accounting/fortnox/fortnox-redirect-uri-permissions.png" />
    </Frame>

    <Warning>
      The scopes enabled on your Fortnox integration must **exactly match** the scopes requested in your OAuth app's authorization flow. Any mismatch will cause the authorization to fail with `2000663: Har inte behörighet för scope`. See the [Fortnox scopes documentation](https://www.fortnox.se/developer/guides-and-good-to-know/scopes).
    </Warning>

    **Common scopes for bookkeeping:** `companyinformation`, `invoice`, `supplierinvoice`, `customer`, `supplier`, `bookkeeping`, `payment`, `settings`, `costcenter`, `project`, `inbox`, `connectfile`.

    <Note>
      Further documentation is coming to explain which scopes to enable depending on your Chift use case.
    </Note>
  </Step>

  <Step title="Activate the connector on Chift">
    In your Chift back office, open the Fortnox connector and toggle activation. You will be prompted to paste your **Client ID** and **Client Secret**. End users are then redirected to Fortnox to authorize access via OAuth2.
  </Step>
</Steps>

<Accordion title="Create a developer account & sandbox">
  <Info>
    This walkthrough covers the full Fortnox developer registration flow. The path is the same for Swedish and non-Swedish companies — the only differences are:

    * **Companies registered outside Sweden** must tick the **My company is registered outside of Sweden** box on the registration form (step 3), which removes the Swedish organization number field.
    * **Users without BankID or Freja eID+** (typically foreign citizens) cannot obtain their Fortnox ID automatically and must call Fortnox support to verify their identity at the end of the flow (step 10).
  </Info>

  <Steps>
    <Step title="Start the registration">
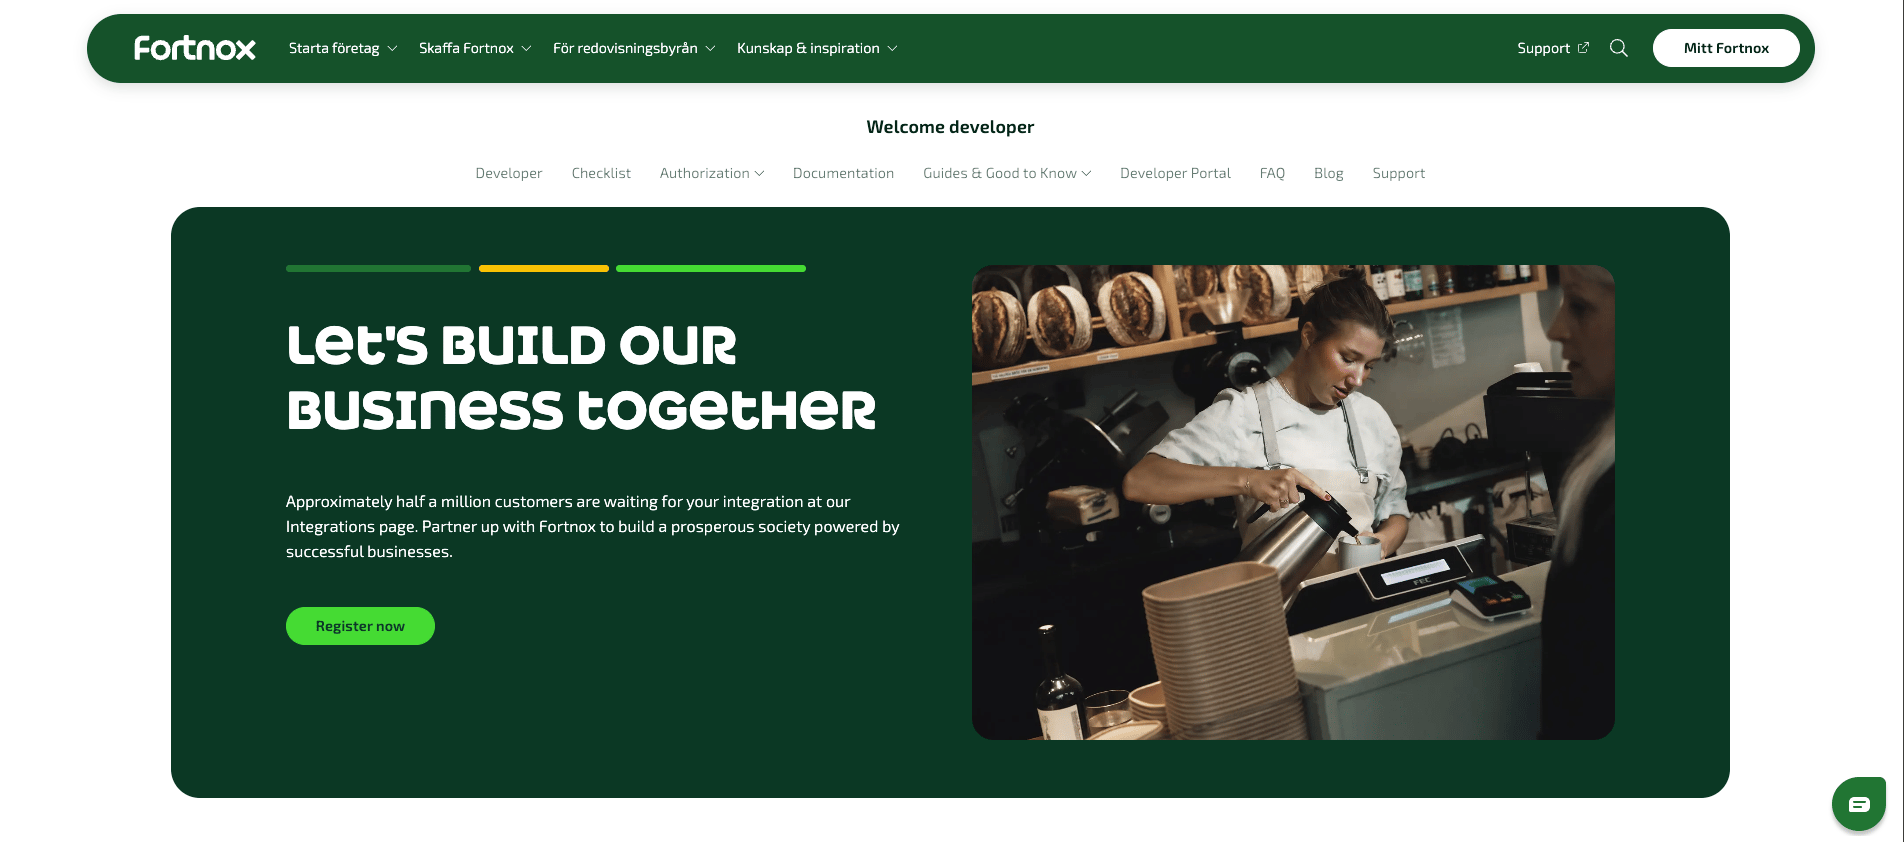
      Go to [fortnox.se/developer](https://www.fortnox.se/developer) and click **Register now**.

      <Frame>
        <img src="https://mintcdn.com/chift/e9rP4VluFouwyOLC/images/connectors/accounting/fortnox/sandbox-01-register.png?fit=max&auto=format&n=e9rP4VluFouwyOLC&q=85&s=71b70f869c508d2f1ff6cb7dc1926ecc" alt="Fortnox developer landing page with the Register now button" width="1904" height="842" data-path="images/connectors/accounting/fortnox/sandbox-01-register.png" />
      </Frame>
    </Step>

    <Step title="Indicate you are not yet a customer">
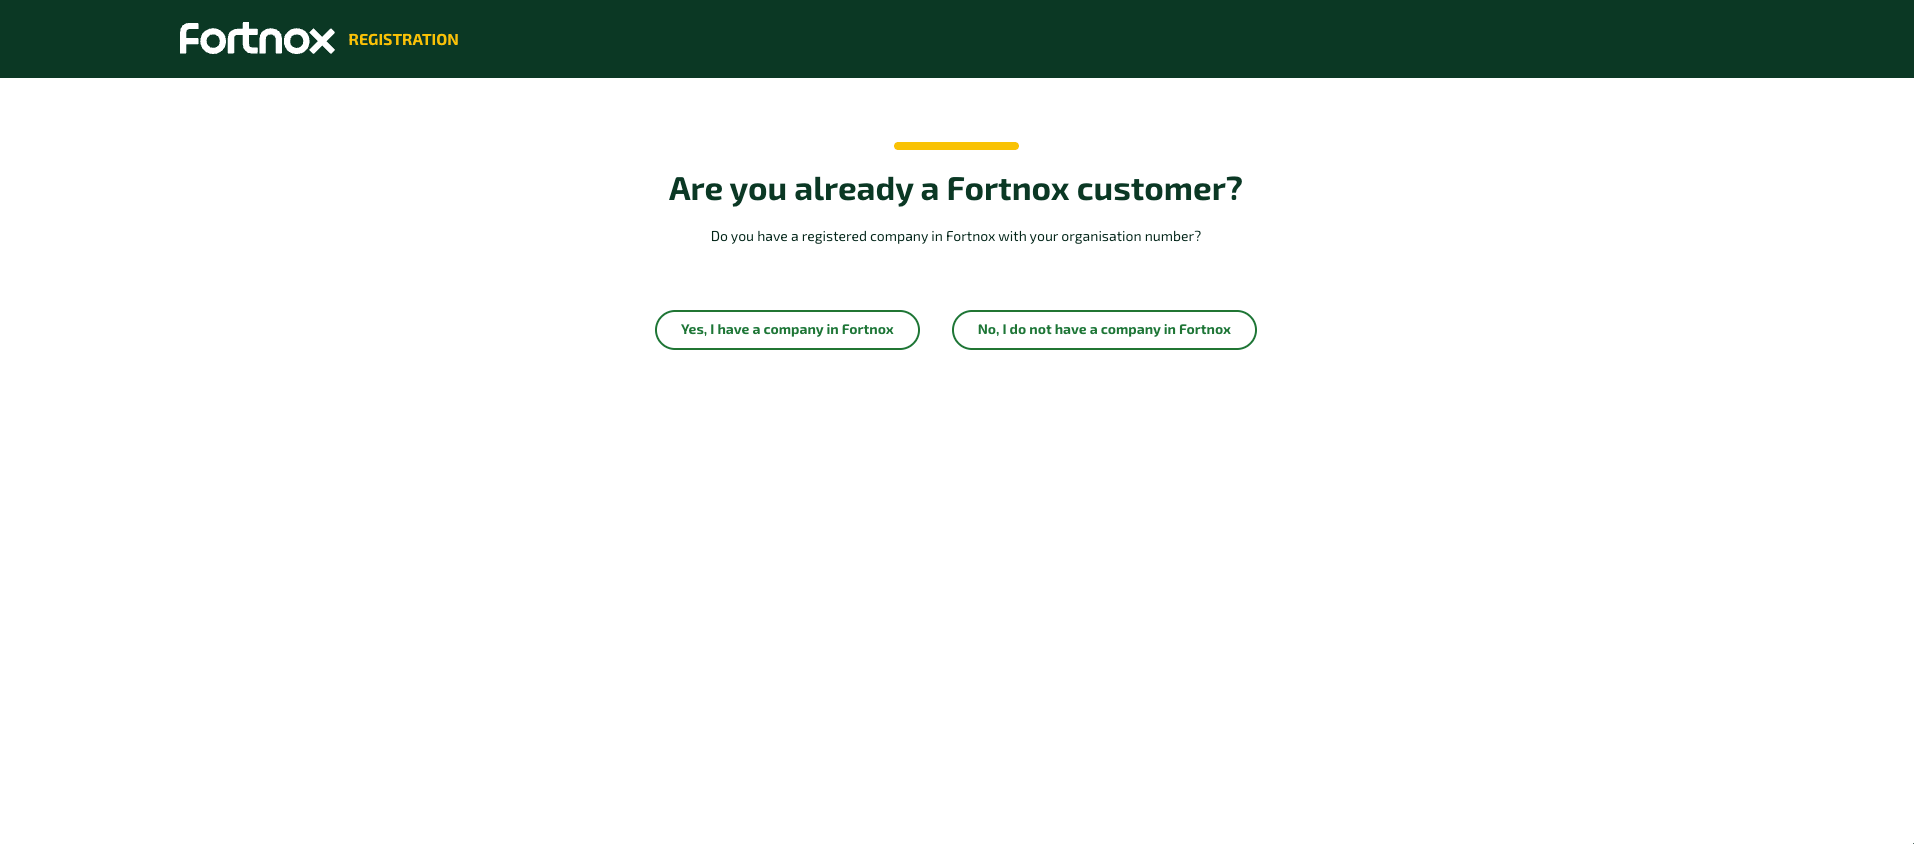
      On the *“Are you already a Fortnox customer?”* screen, click **No, I do not have a company in Fortnox**.

      <Frame>
        <img src="https://mintcdn.com/chift/e9rP4VluFouwyOLC/images/connectors/accounting/fortnox/sandbox-02-not-a-customer.png?fit=max&auto=format&n=e9rP4VluFouwyOLC&q=85&s=bc9ed6624a19c71032d0a1d51df50d00" alt="Fortnox screen asking whether you are already a customer" width="1914" height="844" data-path="images/connectors/accounting/fortnox/sandbox-02-not-a-customer.png" />
      </Frame>
    </Step>

    <Step title="Fill in the developer account form">
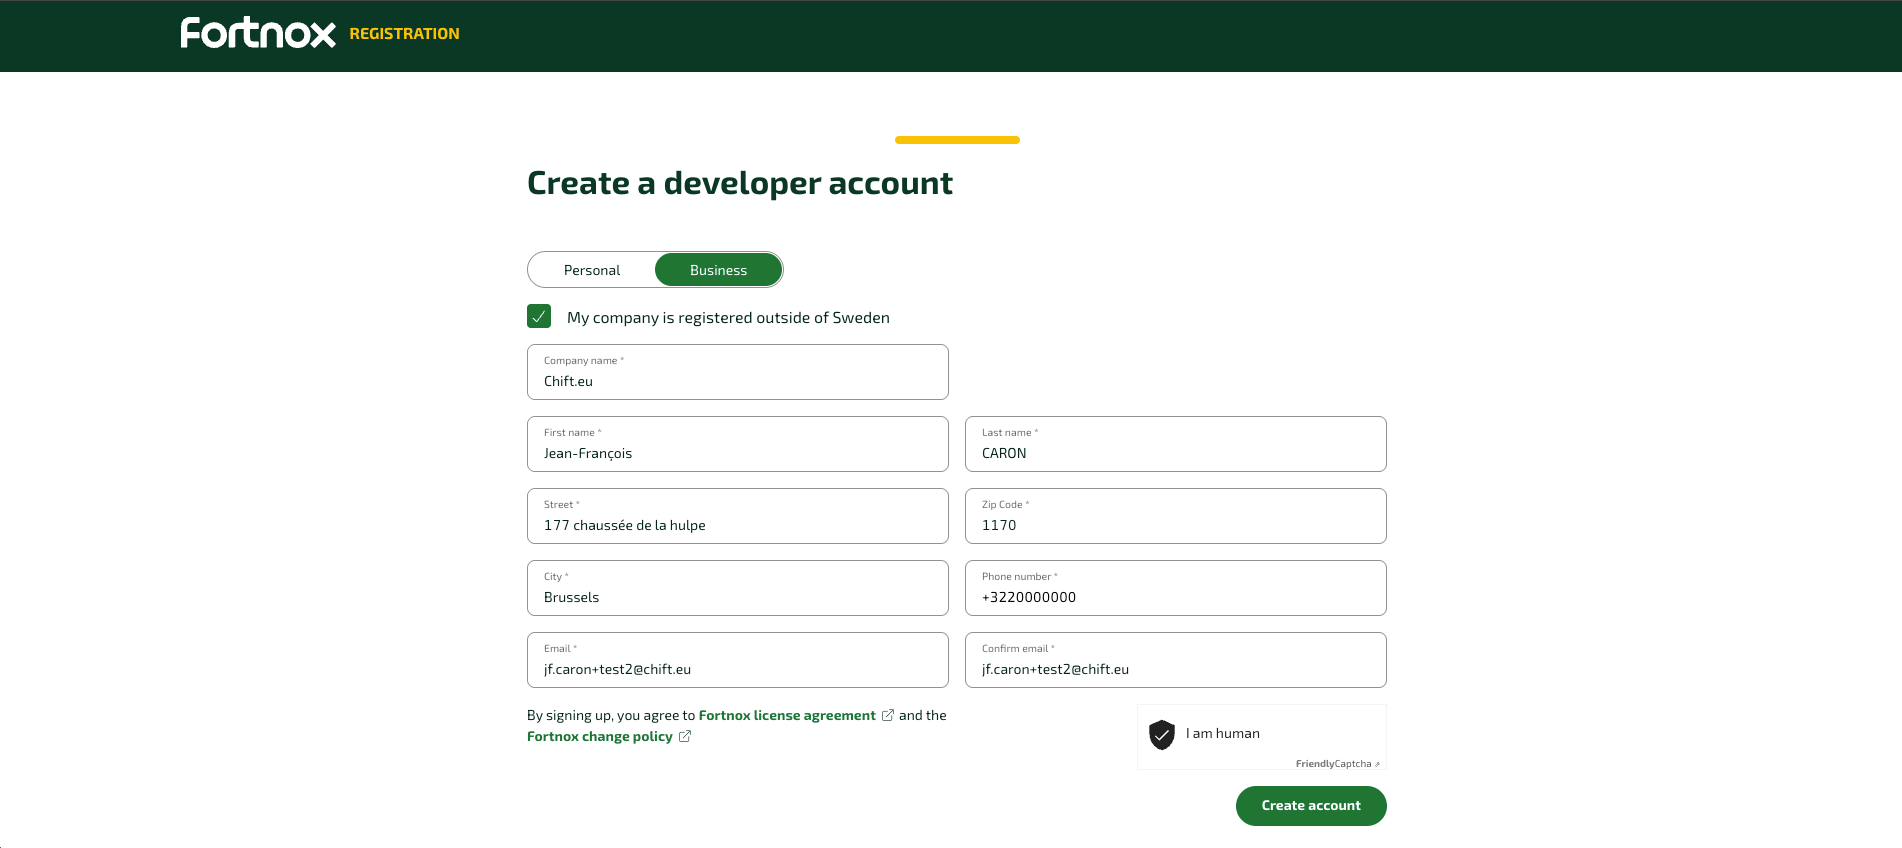
      On the **Create a developer account** form, keep the **Business** tab selected. If your company is registered outside Sweden, tick **My company is registered outside of Sweden** — this removes the **Organization number** field. Swedish companies leave the box unchecked and fill in their Swedish organization number.

      Fill in your company name, contact details, and email, confirm the *“I am human”* check, then click **Create account**.

      <Frame>
        <img src="https://mintcdn.com/chift/e9rP4VluFouwyOLC/images/connectors/accounting/fortnox/sandbox-03-create-account-form.png?fit=max&auto=format&n=e9rP4VluFouwyOLC&q=85&s=8c824de6cba4c308e0ce2862b48dbe51" alt="Create a developer account form with the outside-Sweden option checked" width="1902" height="848" data-path="images/connectors/accounting/fortnox/sandbox-03-create-account-form.png" />
      </Frame>
    </Step>

    <Step title="Confirm your email">
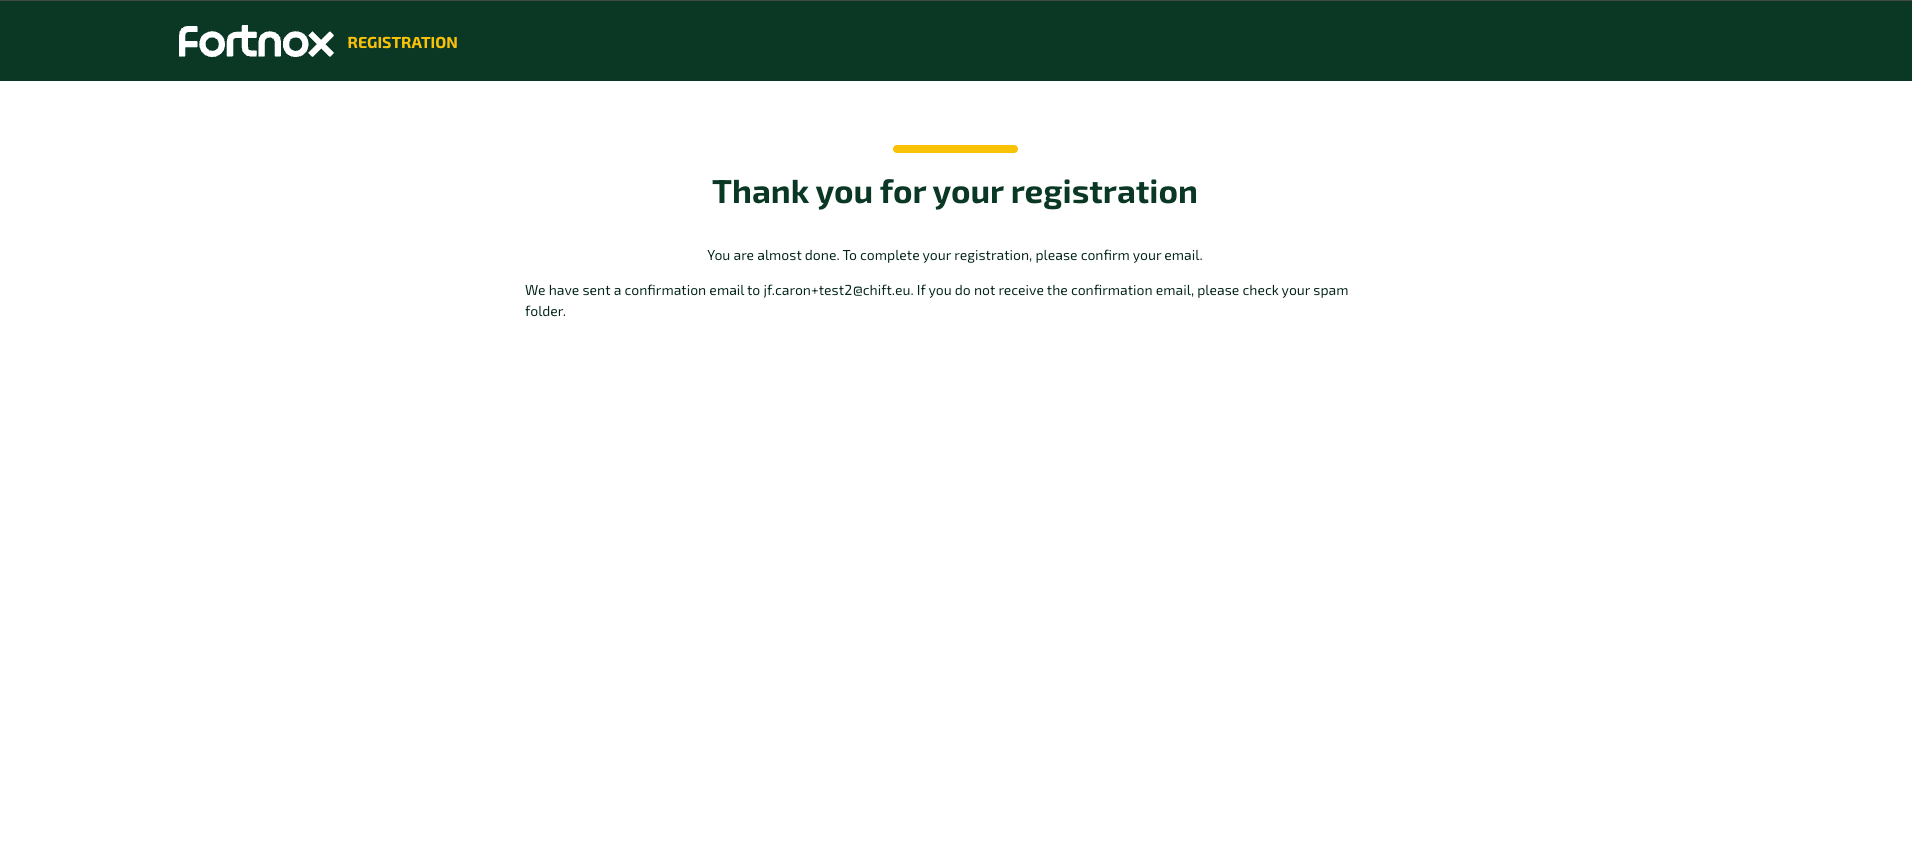
      You land on a **Thank you for your registration** page asking you to confirm your email address.

      <Frame>
        <img src="https://mintcdn.com/chift/e9rP4VluFouwyOLC/images/connectors/accounting/fortnox/sandbox-04-confirm-email.png?fit=max&auto=format&n=e9rP4VluFouwyOLC&q=85&s=e729e3312f45a10da97917c10064b1ae" alt="Thank you for your registration page prompting email confirmation" width="1912" height="841" data-path="images/connectors/accounting/fortnox/sandbox-04-confirm-email.png" />
      </Frame>
    </Step>

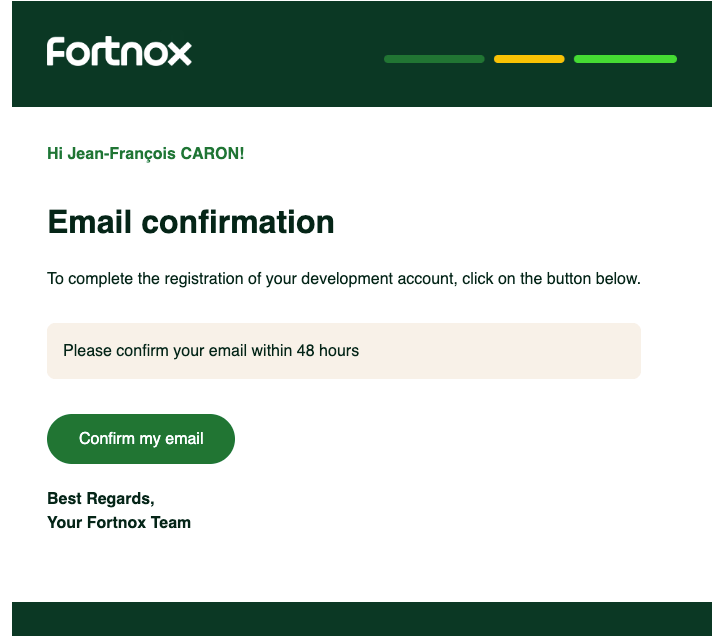
    <Step title="Click the confirmation link">
      Open the confirmation email from Fortnox and click the confirmation link.

      <Frame>
        <img src="https://mintcdn.com/chift/e9rP4VluFouwyOLC/images/connectors/accounting/fortnox/sandbox-05-confirmation-email.png?fit=max&auto=format&n=e9rP4VluFouwyOLC&q=85&s=52e61c6e78e5eb200457d5e2b3172c89" alt="Fortnox email confirmation message" width="723" height="636" data-path="images/connectors/accounting/fortnox/sandbox-05-confirmation-email.png" />
      </Frame>
    </Step>

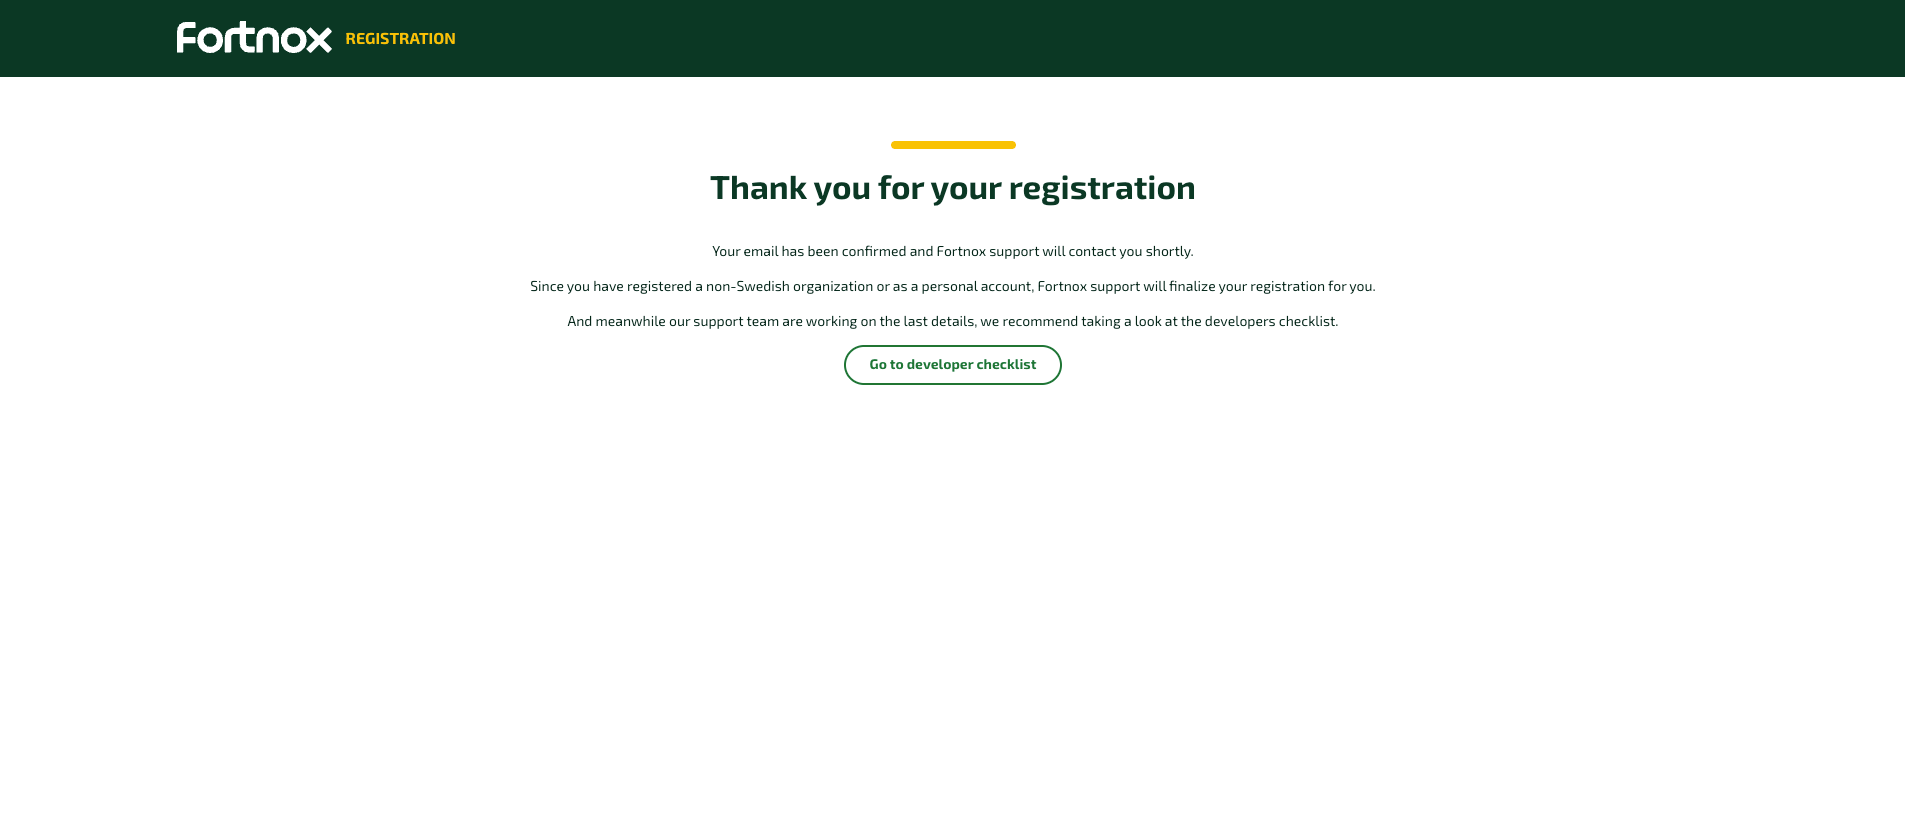
    <Step title="Registration is finalized manually (non-Swedish companies only)">
      For a company registered outside Sweden, the confirmation page explains that **Fortnox support will finalize your registration manually** — there is no self-service *“create your Fortnox ID”* step at this stage. Swedish companies proceed directly to the next step.

      <Frame>
        <img src="https://mintcdn.com/chift/e9rP4VluFouwyOLC/images/connectors/accounting/fortnox/sandbox-06-email-confirmed-support.png?fit=max&auto=format&n=e9rP4VluFouwyOLC&q=85&s=c82482c51f2a8aa314a84202b766f397" alt="Email confirmed page explaining Fortnox support will finalize the registration" width="1905" height="835" data-path="images/connectors/accounting/fortnox/sandbox-06-email-confirmed-support.png" />
      </Frame>
    </Step>

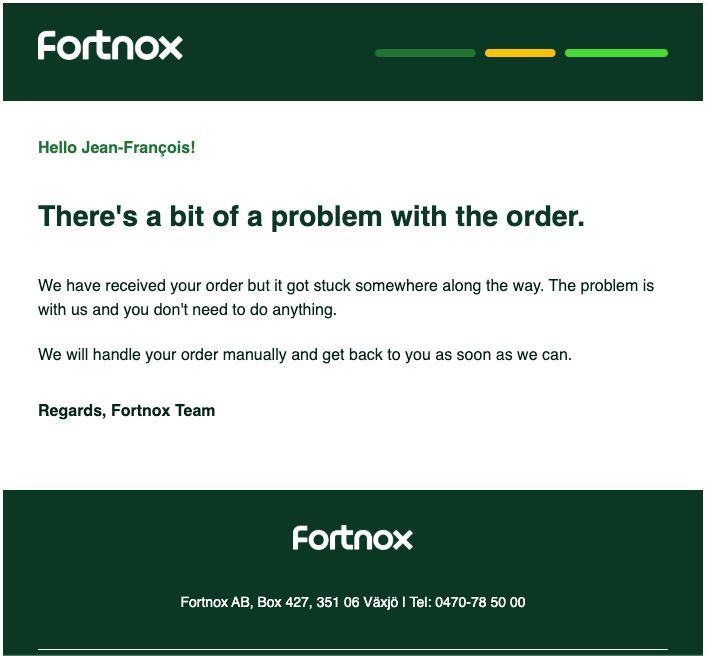
    <Step title="Expect a manual-handling email (non-Swedish companies only)">
      Shortly after, non-Swedish companies receive an automated email stating that their order is being handled manually. This is the **expected behavior for non-Swedish companies**, not an error — no action is required at this point.

      <Frame>
        <img src="https://mintcdn.com/chift/e9rP4VluFouwyOLC/images/connectors/accounting/fortnox/sandbox-07-order-processed-manually.png?fit=max&auto=format&n=e9rP4VluFouwyOLC&q=85&s=643d2a0914107ef1e81c5926372ad056" alt="Automated email stating the registration is being processed manually" width="707" height="656" data-path="images/connectors/accounting/fortnox/sandbox-07-order-processed-manually.png" />
      </Frame>
    </Step>

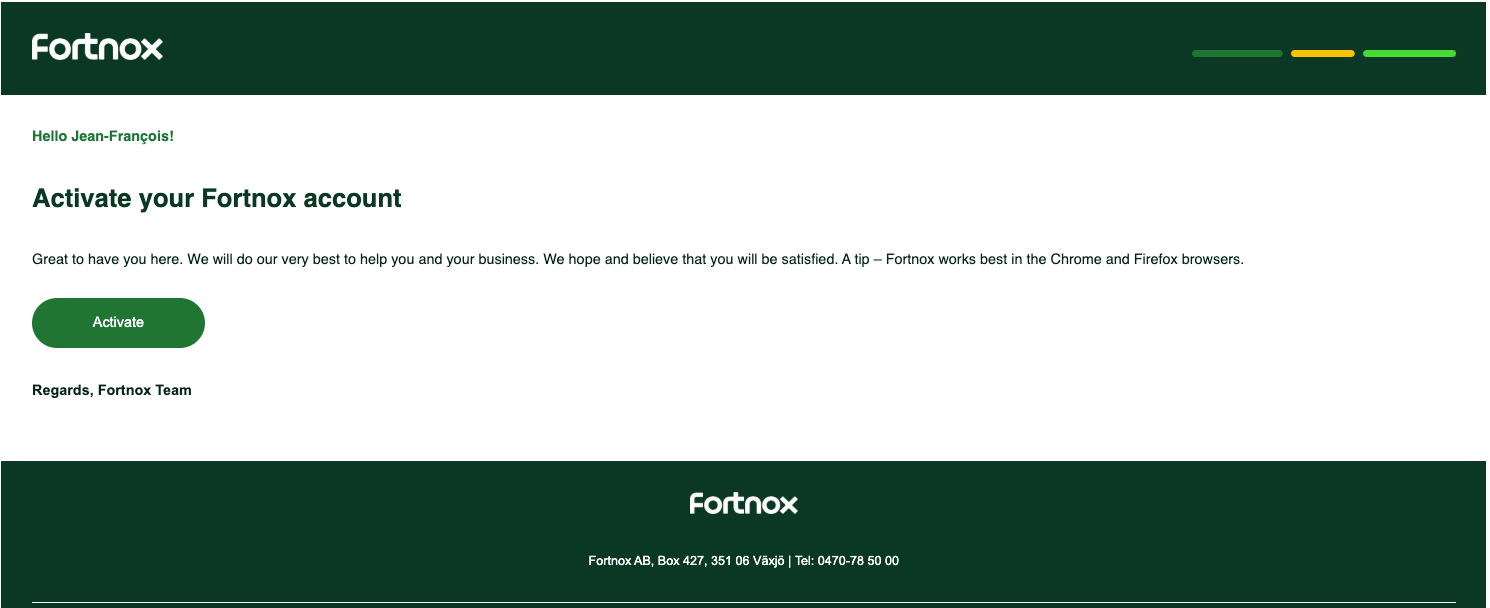
    <Step title="Start creating your Fortnox ID">
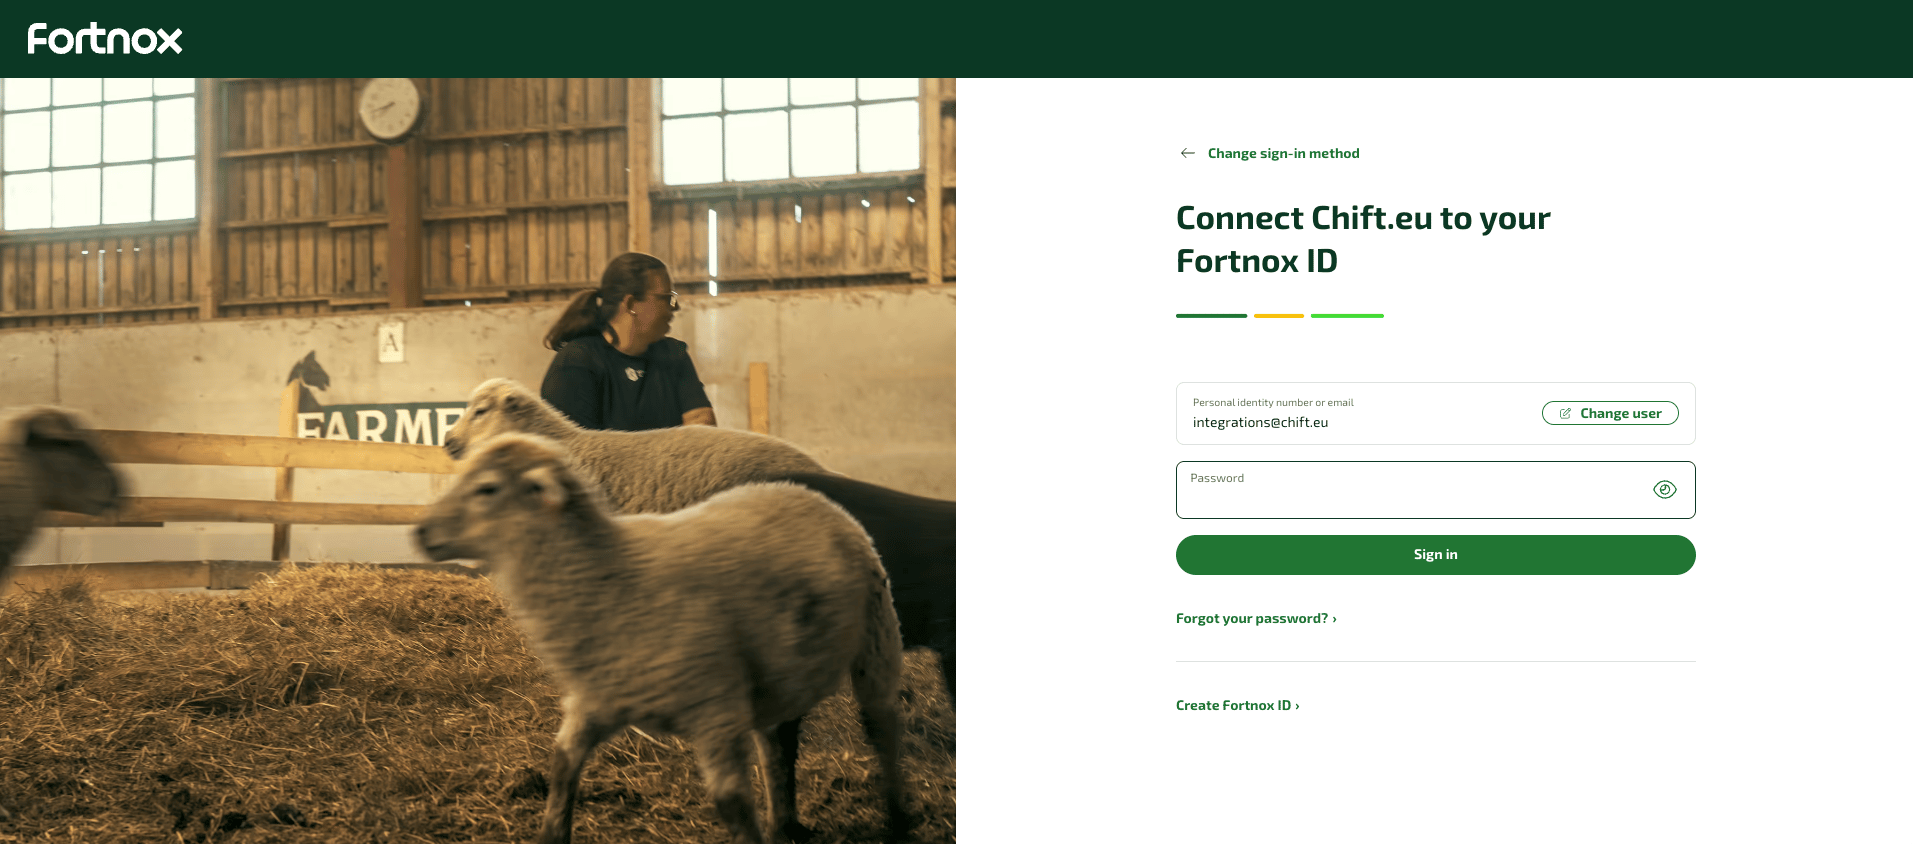
      When you receive the activation email, click **Activate**. You land on **Connect … to your Fortnox ID**. If you do not already have a Fortnox ID, click **Create Fortnox ID ›** instead of signing in.

      <Frame>
        <img src="https://mintcdn.com/chift/e9rP4VluFouwyOLC/images/connectors/accounting/fortnox/sandbox-08-connect-fortnox-id-signin.png?fit=max&auto=format&n=e9rP4VluFouwyOLC&q=85&s=28e9ce3755d71f4f60779f0e6b09d281" alt="Sign-in screen to connect to a Fortnox ID" width="1490" height="608" data-path="images/connectors/accounting/fortnox/sandbox-08-connect-fortnox-id-signin.png" />
      </Frame>

      <Frame>
        <img src="https://mintcdn.com/chift/e9rP4VluFouwyOLC/images/connectors/accounting/fortnox/sandbox-09-create-fortnox-id.png?fit=max&auto=format&n=e9rP4VluFouwyOLC&q=85&s=9a3e27d1cb24232a70e8f7cb20bd38af" alt="Create Fortnox ID – verify your identity screen" width="1913" height="844" data-path="images/connectors/accounting/fortnox/sandbox-09-create-fortnox-id.png" />
      </Frame>
    </Step>

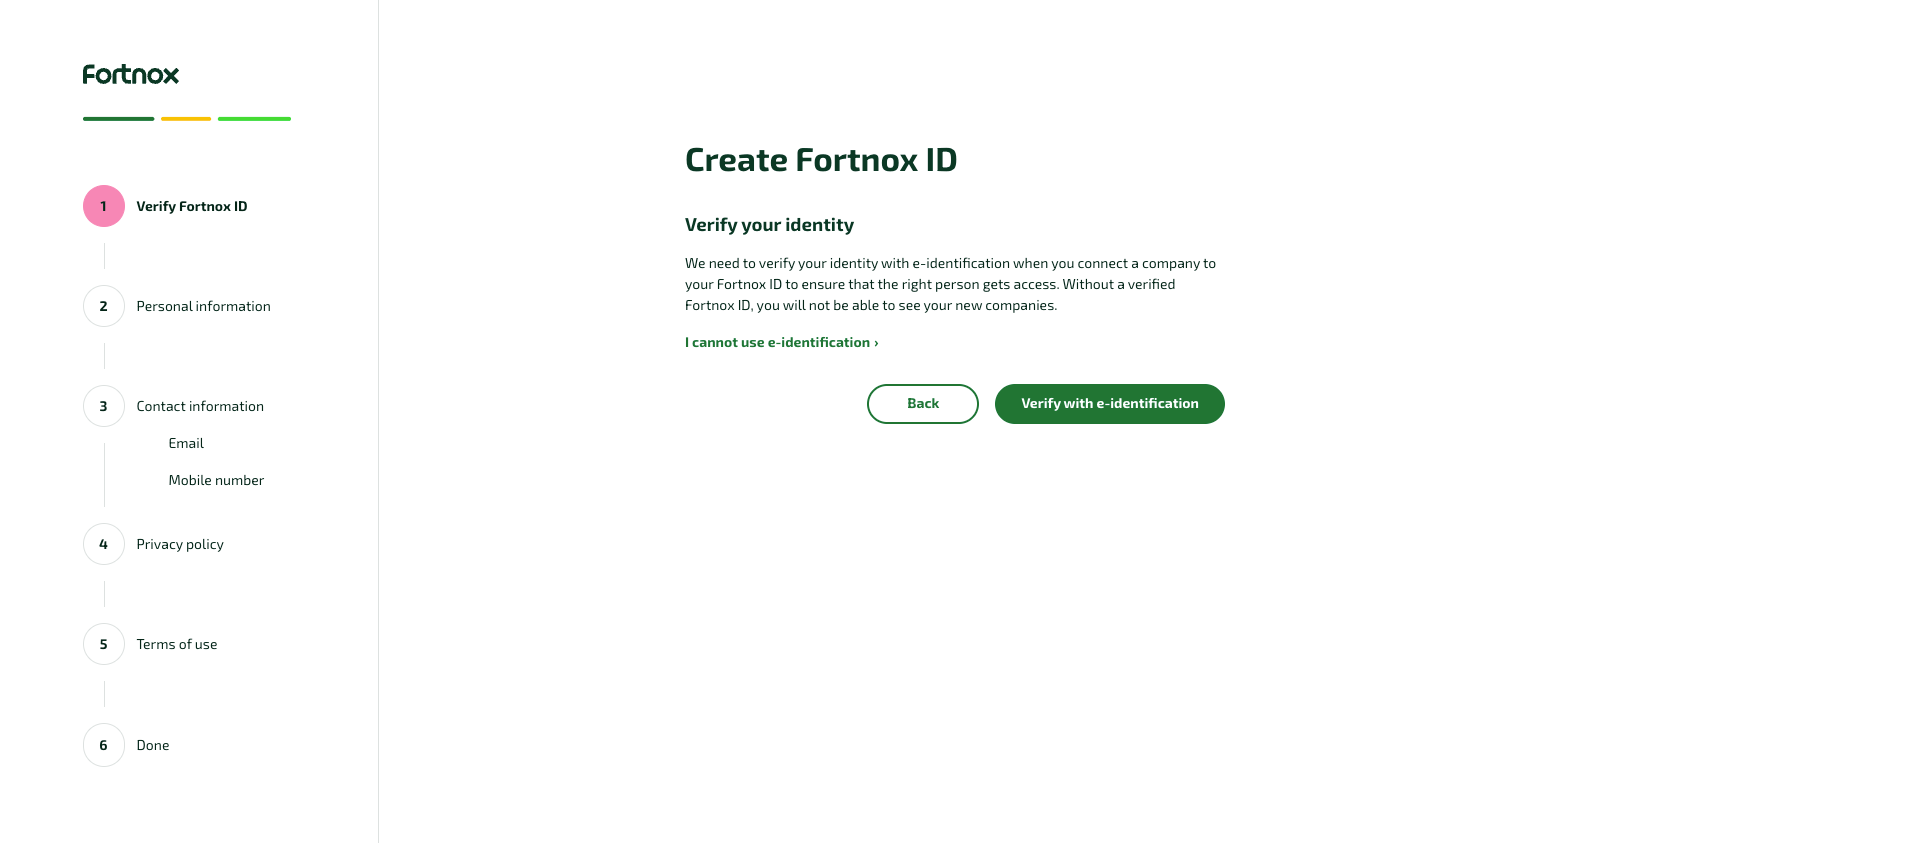
    <Step title="Verify your identity">
      Fortnox offers two e-identification methods: **BankID** (requires a Swedish personal identity number) or **Freja eID+** (accepts foreign nationals via passport, but needs a separate app). If you have neither, click **I cannot use e-identification ›** and confirm. You can continue, but you will need to contact Fortnox support at the end of the flow to verify your Fortnox ID.

      <Frame>
        <img src="https://mintcdn.com/chift/e9rP4VluFouwyOLC/images/connectors/accounting/fortnox/sandbox-10-verify-identity.png?fit=max&auto=format&n=e9rP4VluFouwyOLC&q=85&s=1fd1682e7060bffc5b905bd5245f4202" alt="Verify your identity screen with the option to skip e-identification" width="1909" height="843" data-path="images/connectors/accounting/fortnox/sandbox-10-verify-identity.png" />
      </Frame>
    </Step>

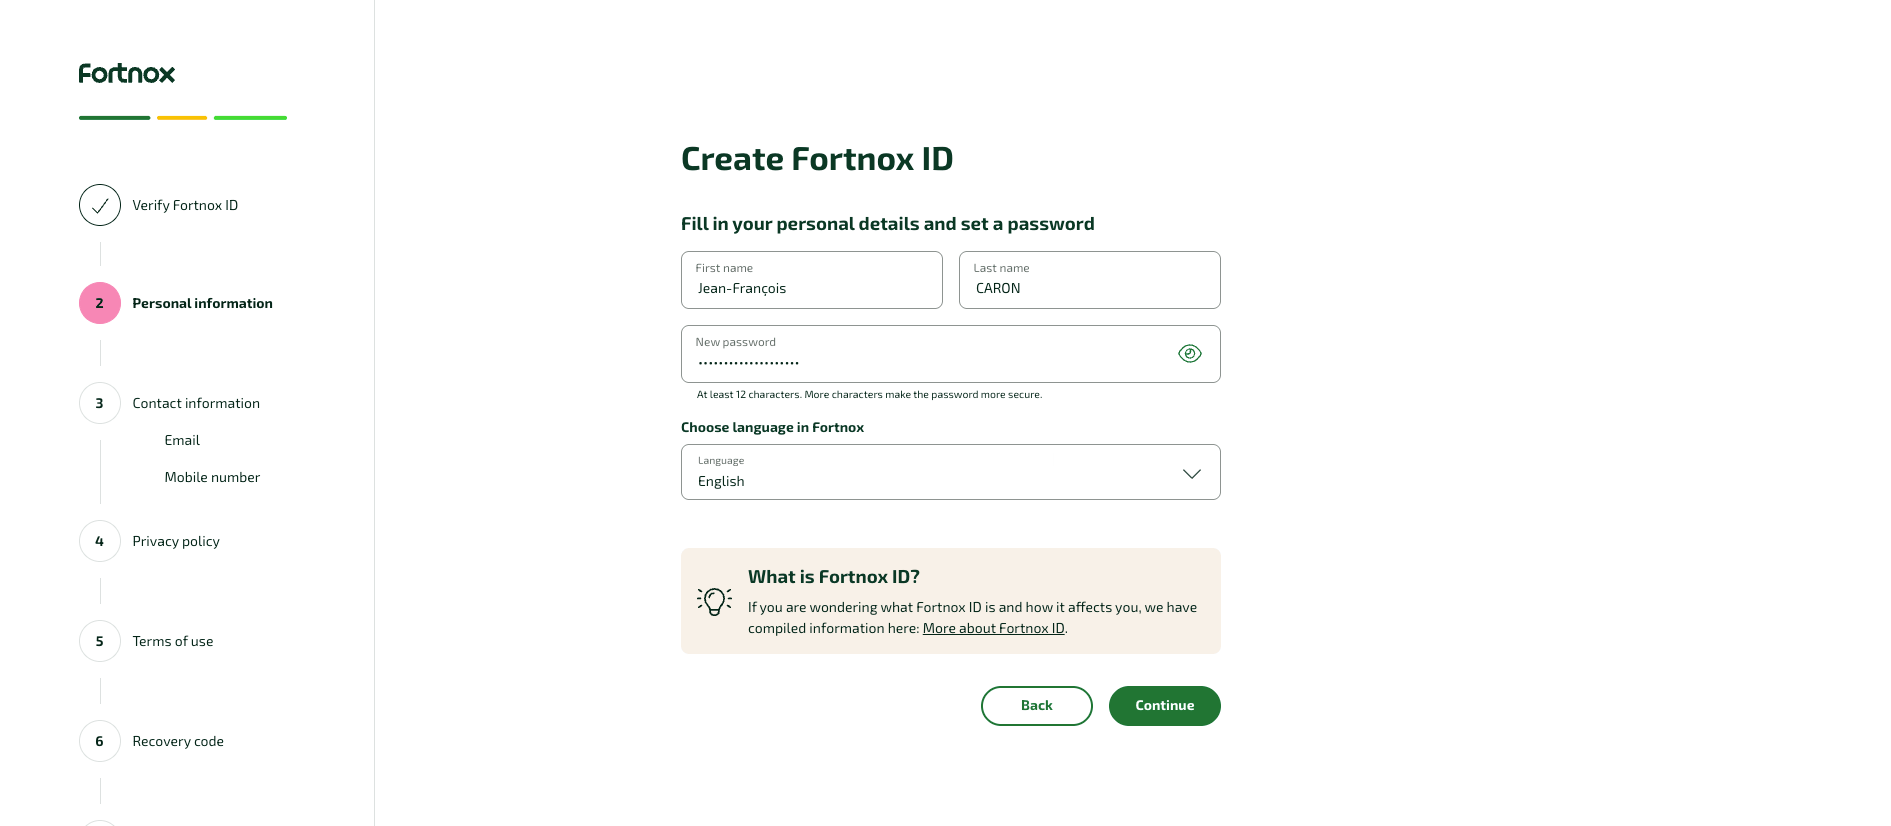
    <Step title="Enter your personal information">
      Set a password (12+ characters) and choose your Fortnox UI language, then continue.

      <Frame>
        <img src="https://mintcdn.com/chift/e9rP4VluFouwyOLC/images/connectors/accounting/fortnox/sandbox-11-personal-information.png?fit=max&auto=format&n=e9rP4VluFouwyOLC&q=85&s=9c96d7d13c0ccda3049d3a7932937986" alt="Personal information step with password and language fields" width="1891" height="826" data-path="images/connectors/accounting/fortnox/sandbox-11-personal-information.png" />
      </Frame>
    </Step>

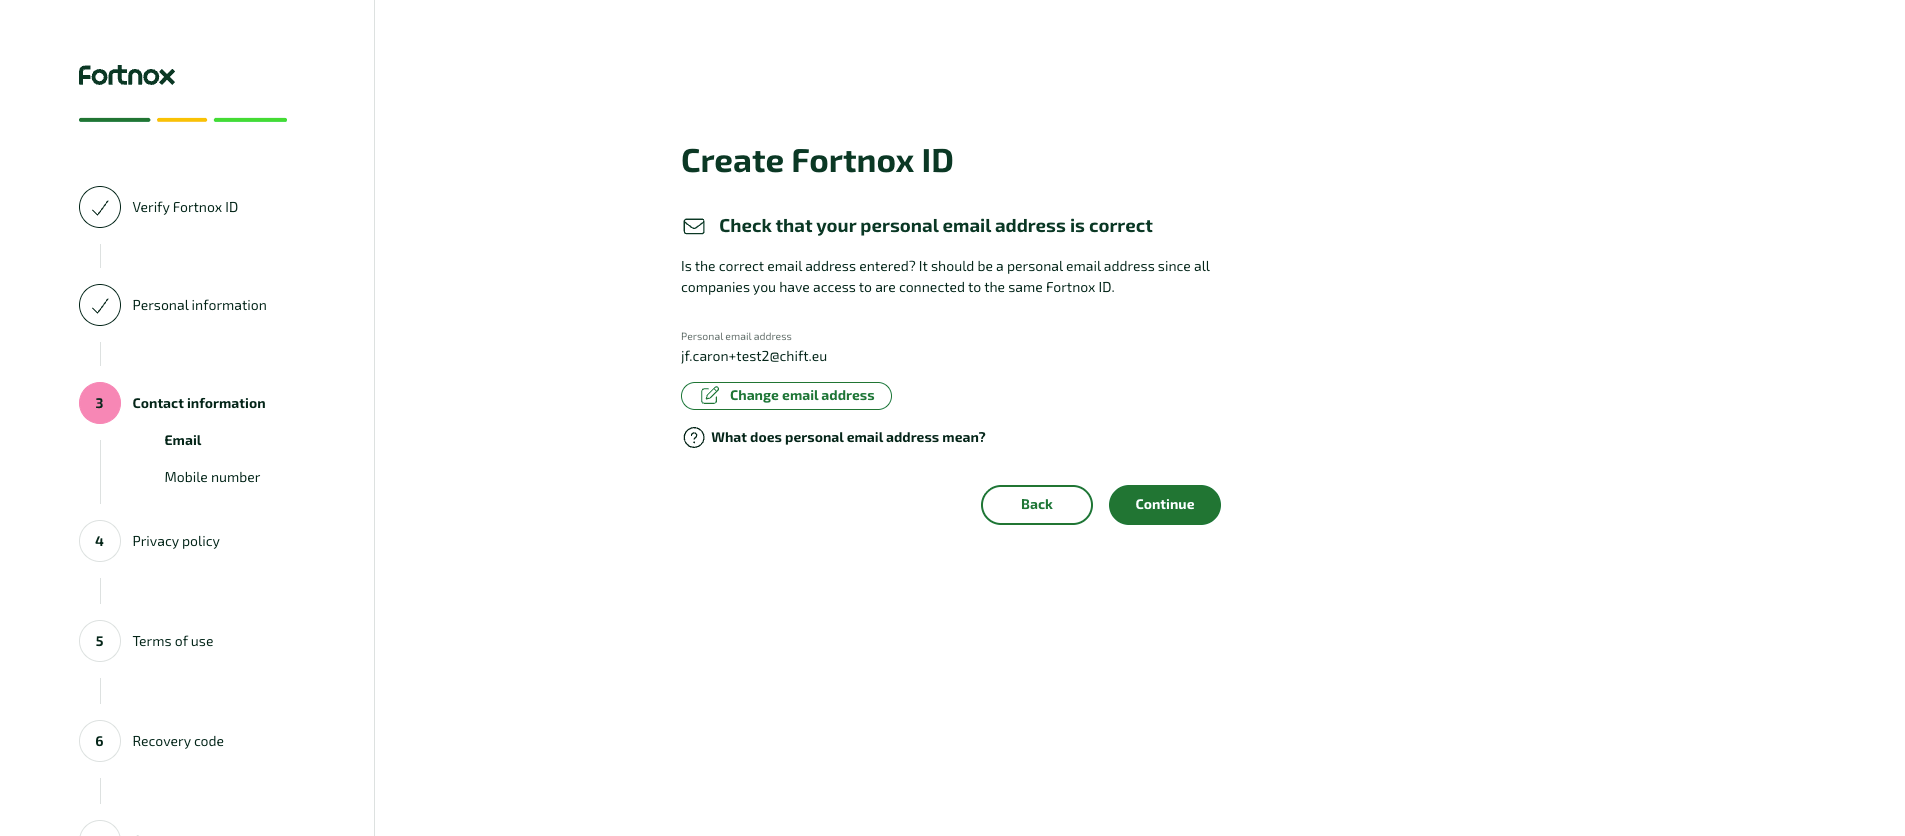
    <Step title="Confirm your email address">
      Confirm the email address used for your Fortnox ID (you can change it here), then continue.

      <Frame>
        <img src="https://mintcdn.com/chift/e9rP4VluFouwyOLC/images/connectors/accounting/fortnox/sandbox-12-contact-email.png?fit=max&auto=format&n=e9rP4VluFouwyOLC&q=85&s=1fa1a038a00e919fa7c5b0727b3bbd98" alt="Contact information – email confirmation step" width="1905" height="836" data-path="images/connectors/accounting/fortnox/sandbox-12-contact-email.png" />
      </Frame>
    </Step>

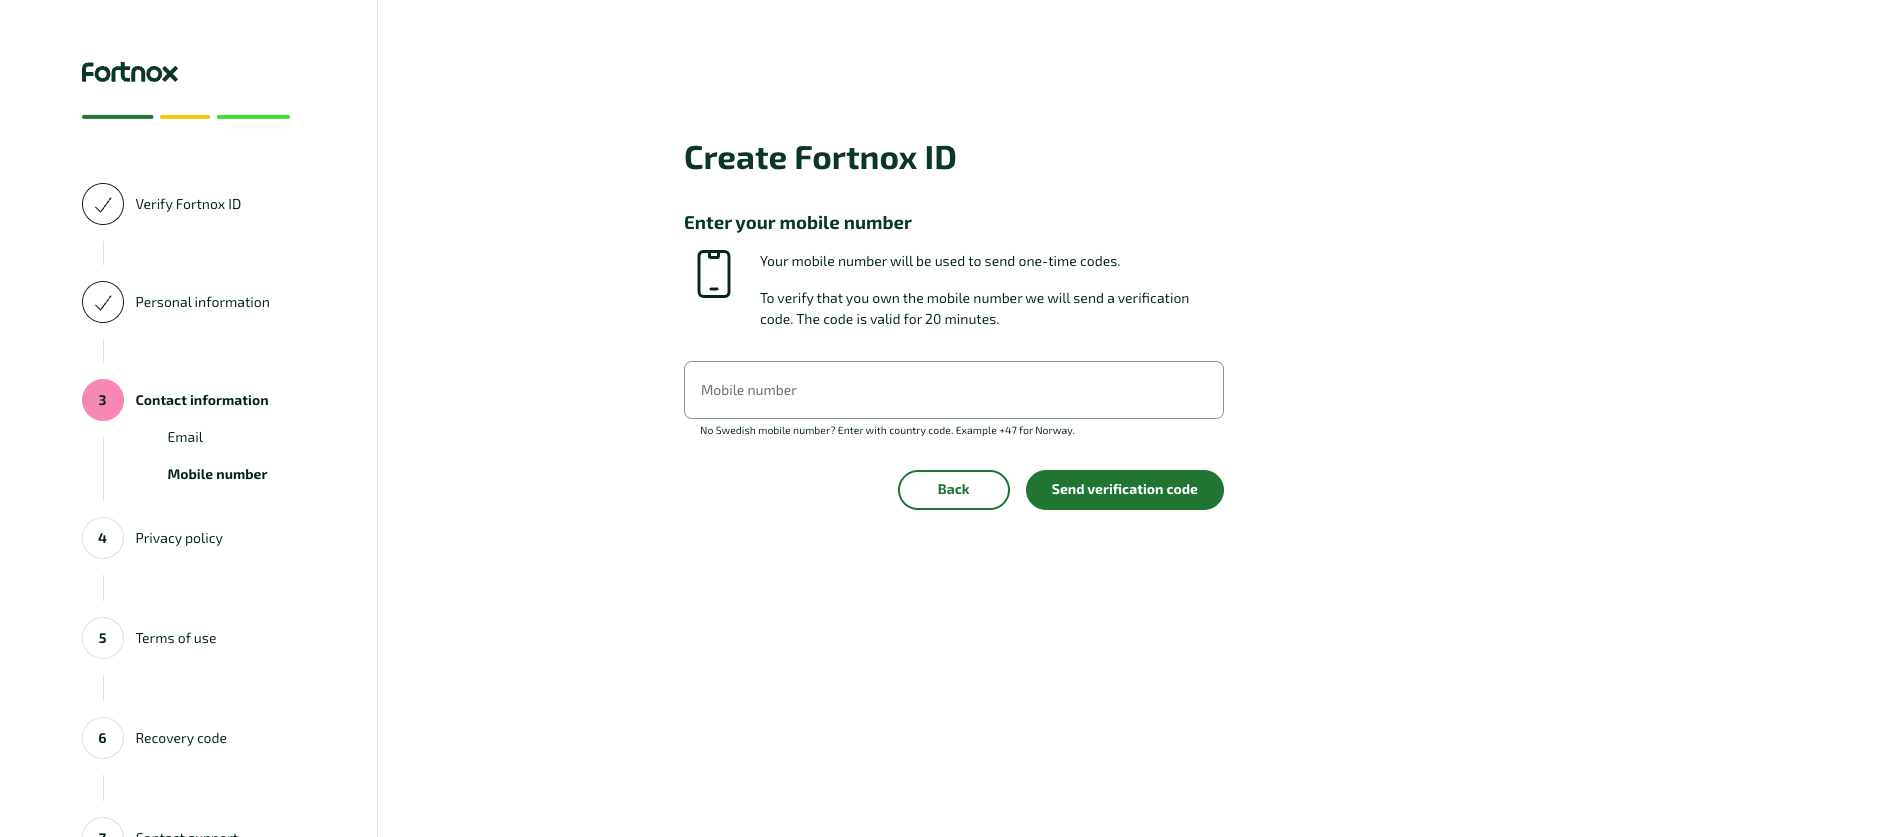
    <Step title="Add your mobile number">
      Enter a **real** mobile number — Fortnox sends a one-time SMS verification code valid for 20 minutes. Non-Swedish numbers are supported with the country code (e.g. `+32` for Belgium).

      <Frame>
        <img src="https://mintcdn.com/chift/e9rP4VluFouwyOLC/images/connectors/accounting/fortnox/sandbox-13-contact-mobile.png?fit=max&auto=format&n=e9rP4VluFouwyOLC&q=85&s=f56cf10907ecf7f62b7fa551d035baec" alt="Contact information – mobile number step" width="1904" height="837" data-path="images/connectors/accounting/fortnox/sandbox-13-contact-mobile.png" />
      </Frame>
    </Step>

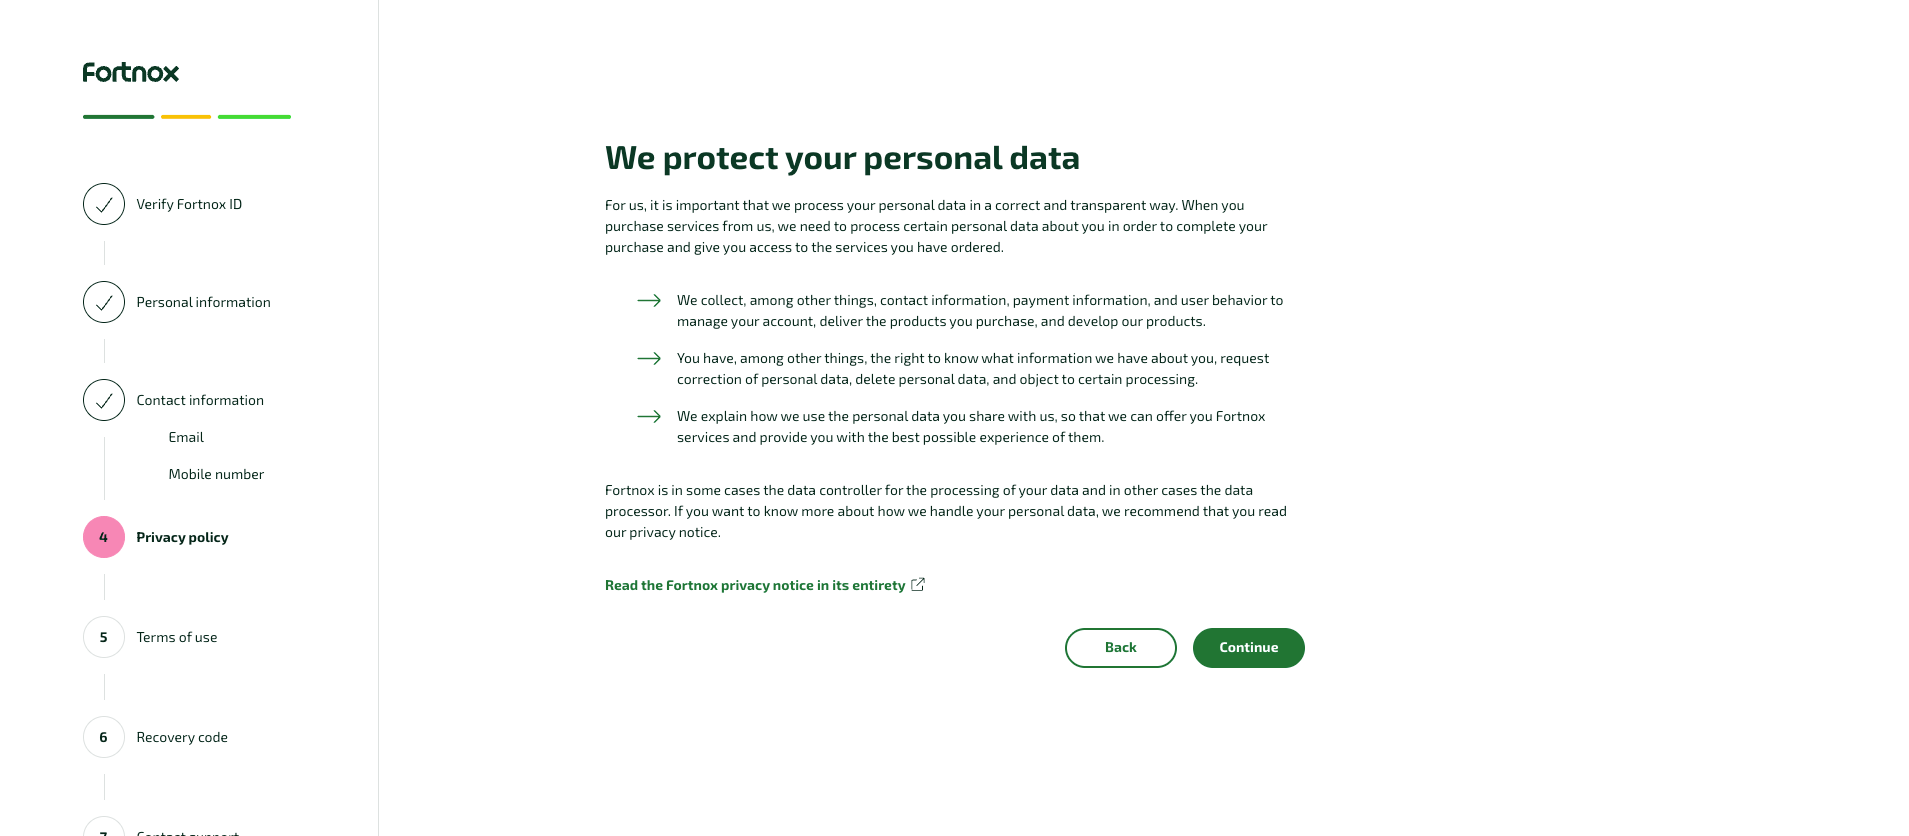
    <Step title="Review the privacy policy">
      This step is informational — continue.

      <Frame>
        <img src="https://mintcdn.com/chift/e9rP4VluFouwyOLC/images/connectors/accounting/fortnox/sandbox-14-privacy-policy.png?fit=max&auto=format&n=e9rP4VluFouwyOLC&q=85&s=3ceac1dd6ec07358b80ae5c039d1639b" alt="Privacy policy step" width="1909" height="836" data-path="images/connectors/accounting/fortnox/sandbox-14-privacy-policy.png" />
      </Frame>
    </Step>

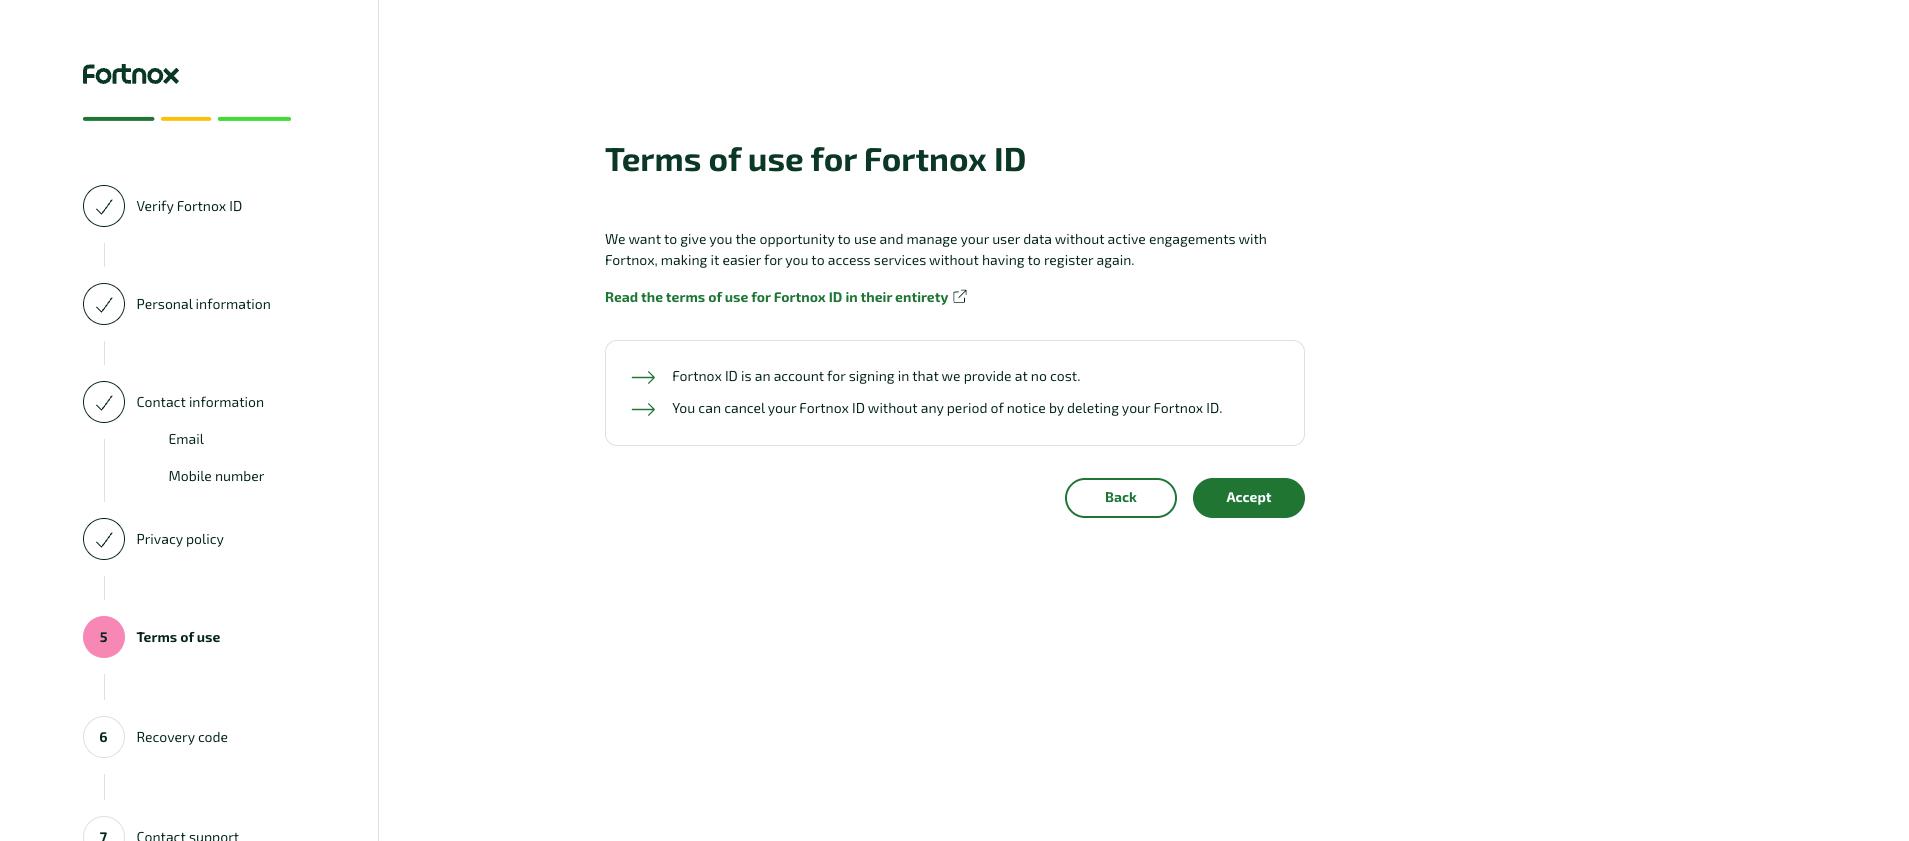
    <Step title="Accept the terms of use">
      Review the **Terms of use for Fortnox ID** and click **Accept**.

      <Frame>
        <img src="https://mintcdn.com/chift/e9rP4VluFouwyOLC/images/connectors/accounting/fortnox/sandbox-15-terms-of-use.png?fit=max&auto=format&n=e9rP4VluFouwyOLC&q=85&s=82d4a9871baa4045d4f12e0efd1f08ab" alt="Terms of use for Fortnox ID step" width="1909" height="841" data-path="images/connectors/accounting/fortnox/sandbox-15-terms-of-use.png" />
      </Frame>
    </Step>

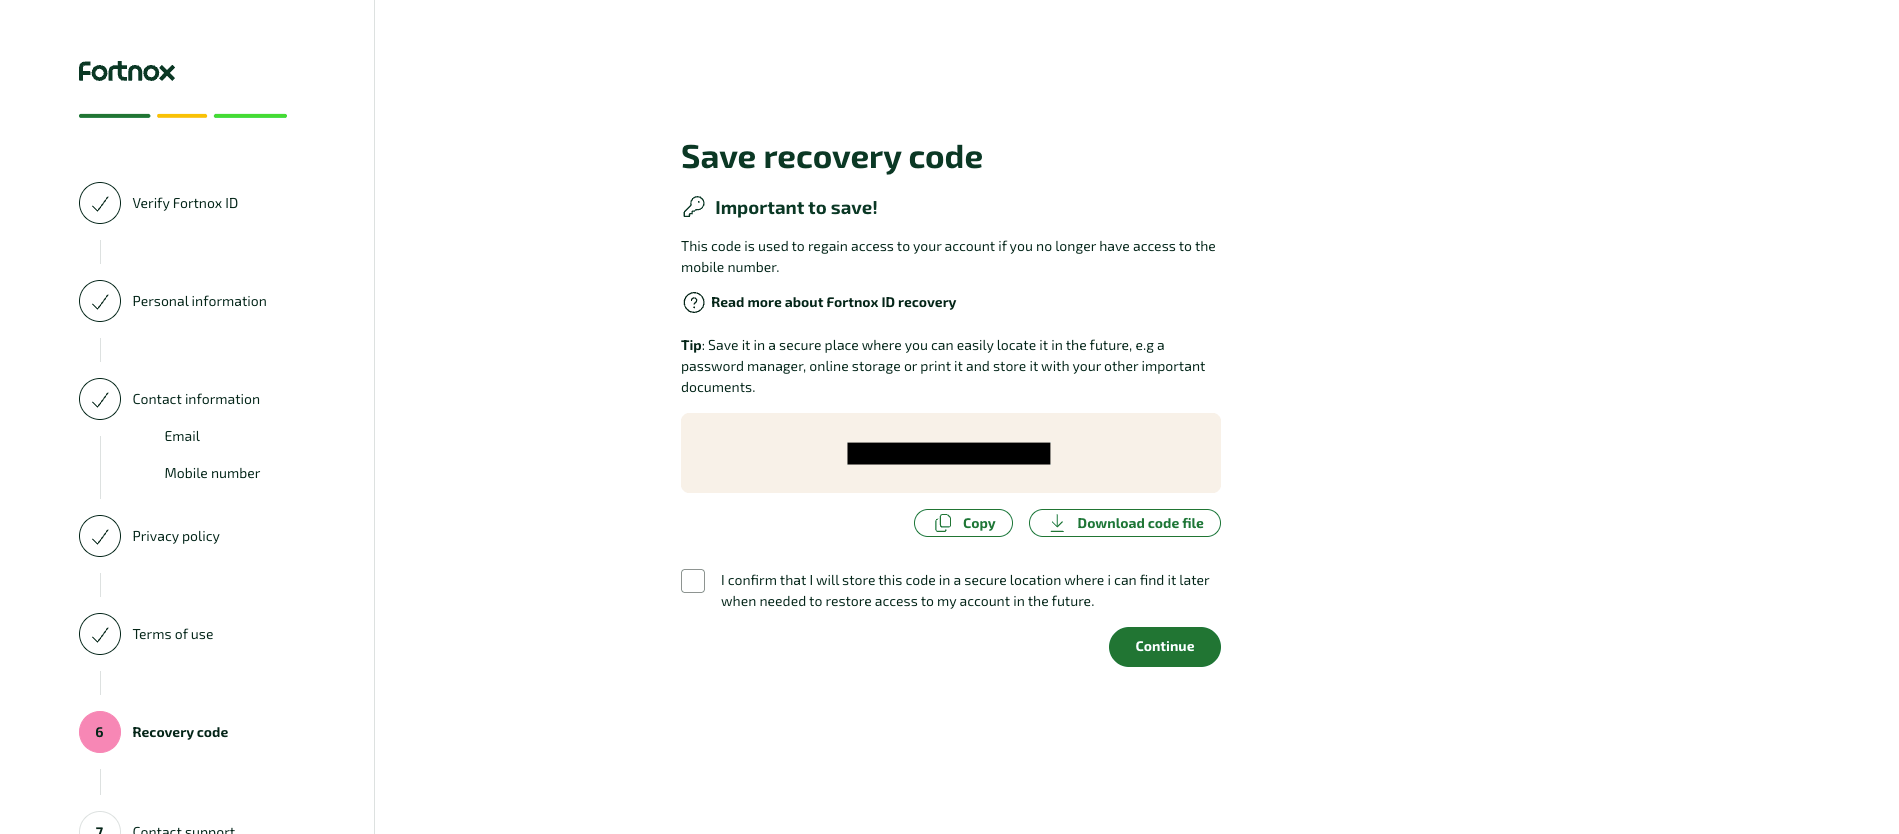
    <Step title="Save your recovery code">
      Fortnox generates a one-time account-recovery code (used to regain access if you lose your mobile number). **Treat it as a sensitive credential** — store it in a password manager, never in shared documentation. Check the confirmation box and continue.

      <Frame>
        <img src="https://mintcdn.com/chift/e9rP4VluFouwyOLC/images/connectors/accounting/fortnox/sandbox-16-recovery-code.png?fit=max&auto=format&n=e9rP4VluFouwyOLC&q=85&s=4ee2ced3704b42c4ecb2bd38e3d408f0" alt="Save recovery code step" width="1899" height="834" data-path="images/connectors/accounting/fortnox/sandbox-16-recovery-code.png" />
      </Frame>
    </Step>

    <Step title="Contact Fortnox support to verify your ID">
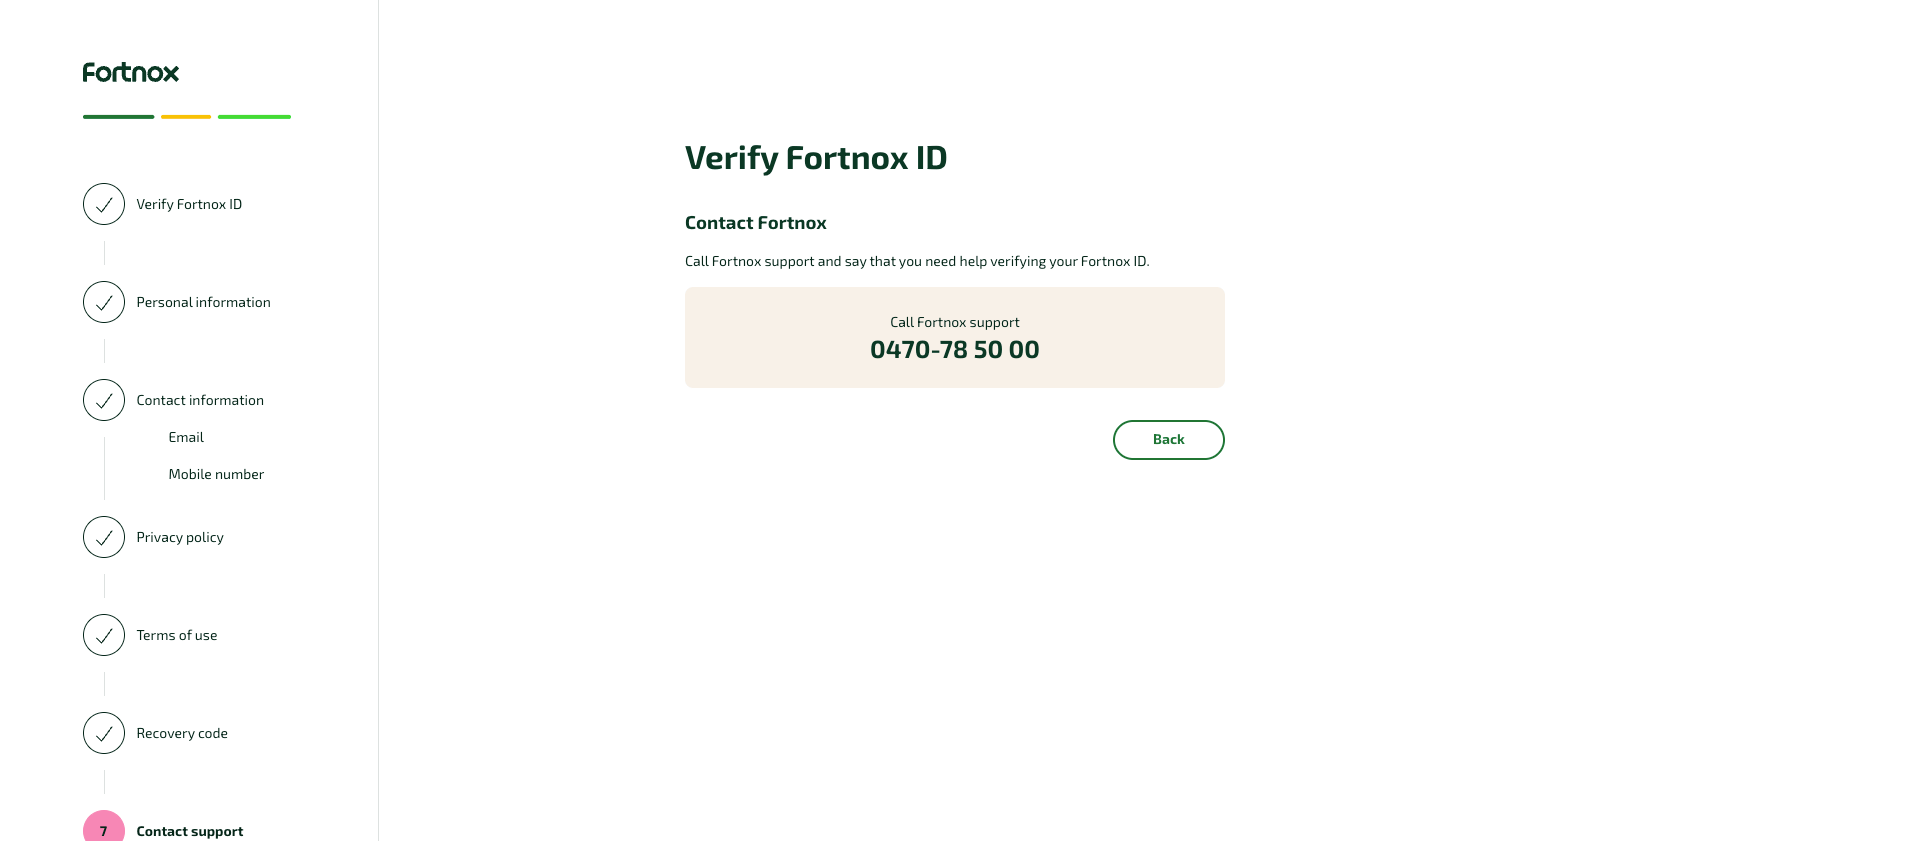
      This step appears only if you skipped e-identification. Call Fortnox support at **0470-78 50 00** and ask them to verify your Fortnox ID.

      <Warning>
        Without **BankID** or **Freja eID+**, this step **cannot be completed online** — verifying your Fortnox ID requires a phone call to Fortnox support. Fortnox acknowledges this gap for foreign citizens in its [customer-verification FAQ](https://support.fortnox.se/hantera-fortnox/abonnemang-och-avtal/faq-kundverifiering); there is currently no committed timeline for a self-service alternative.
      </Warning>

      <Frame>
        <img src="https://mintcdn.com/chift/e9rP4VluFouwyOLC/images/connectors/accounting/fortnox/sandbox-17-contact-support.png?fit=max&auto=format&n=e9rP4VluFouwyOLC&q=85&s=400afec014cccbdaabe48e38047b1b15" alt="Contact support step showing the Fortnox support phone number" width="1910" height="841" data-path="images/connectors/accounting/fortnox/sandbox-17-contact-support.png" />
      </Frame>
    </Step>

    <Step title="Return to the activation email">
      Once your Fortnox ID is created and verified, go back to the original **activation email** and continue from there. This links your new Fortnox ID and finishes the sandbox registration.
    </Step>
  </Steps>
</Accordion>

## Test Fortnox

Create up to **30 test companies** from the [Test environments](https://developer.fortnox.se/my-account/test-environments) tab of the Fortnox Developer Portal. Test companies behave like real Fortnox companies (same [rate limits](#rate-limits) apply), come with the standard **BAS** chart of accounts and no pre-filled data.

## Connect Fortnox

To activate a connection with Fortnox, users will have to go through the following steps:

* Help Center article: [Help Center - Fortnox EN](/help/connectors/accounting/fortnox)

## Rate limits

* **300 requests / minute** per Client ID + tenant (i.e. per access token), enforced via a **sliding window of 5 seconds** → **25 requests / 5 s**.
* Exceeding the limit returns **HTTP 429 (Too Many Requests)**; bursts are throttled until the average falls back under the limit.
* The limit scales per tenant: each connected Fortnox company has its own access token and therefore its own 300 req/min budget.

## Technical limitations & specificities

* **Single company currency — SEK.** Fortnox accounts have no per-account currency. On a bank account, the currency is informational (surfaced in the account name), not enforced. On entries, a currency ≠ company currency requires an `exchange_rate` (otherwise `ERROR_CURRENCY_NOT_ALLOWED`), and amounts are converted to the company currency.
* **Account & journal types are derived, not stored.** `journal_type` and ledger account type are derived from the BAS number ranges / predefined series. A type sent on create is not stored — it's ignored, or validated for consistency (an account type inconsistent with the number range is rejected).
* **Third-party accounts (customer/supplier/employee) on entries.** Fortnox has no native journal ↔ account link and supplier objects carry no dedicated ledger account, so third-party lines must specify `force_general_account` (otherwise a clear "not supported" error is returned).
* **Format constraints:** ledger account number = numeric, `1000–9999`; journal (VoucherSeries) code = 1–10 chars, digits / UPPERCASE only.
* `posted` **is always** `true` for entries — Fortnox posts vouchers immediately (the `posted` input has no effect).
* **Financial entries (bank/cash operations):** items contain only the counterpart line(s) with a signed amount (`+` = into the bank, `−` = out); the bank ledger account is passed via the mandatory query param `financial_counterpart_account`, and the connector adds the balancing bank line (net of the amounts).
* **Chart-of-accounts type filter** exposes only 6 of the 10 possible account types (`bank`, `cash`, `income`, `expense`, `other_expense`, `vat`) — `receivable`, `payable`, `other_financial`, `other` are returned in responses but cannot be filtered.
* **Bank account number range (1920–1999).** In the Swedish BAS chart of accounts, the range `1920–1999` is reserved for bank and cash accounts (*Kassa och bank*). Accounts created via `POST /accounting/bank-accounts` on the Fortnox connector will be allocated within this range.

## Coverage

<CoverageIframe api="accounting" connectors="Fortnox" />